To photograph paintings without glare without fancy gear, focus on shooting in soft, indirect natural light, like early mornings or overcast days. Position the artwork at an angle away from direct light sources and keep your camera slightly off-center to avoid reflections. Use simple camera adjustments such as a narrow aperture and polarizer, and experiment with angles until glare disappears. For subtle fixes, post-process to remove any remaining hotspots, and if you keep exploring, you’ll discover even easier tips.
Key Takeaways
- Use natural, diffuse light from overcast days or large windows to minimize harsh reflections.
- Adjust the artwork’s angle slightly away from direct light sources to reduce glare.
- Position your camera at an angle rather than straight on to avoid capturing reflections.
- Opt for simple diffusion methods, like placing a sheer curtain or white sheet near windows, to soften light.
- Post-process images to remove residual glare spots using basic editing tools for cleaner results.

K&F Concept 58mm Circular Polarizer Lens Filter Ultra-Slim Optical Glass
- Enhances Color & Contrast: Improves color saturation and contrast
- Reduces Reflections: Removes water and glass reflections
- Multi-Coated Layers: 18-layer coating minimizes glare and reflections
As an affiliate, we earn on qualifying purchases.
As an affiliate, we earn on qualifying purchases.
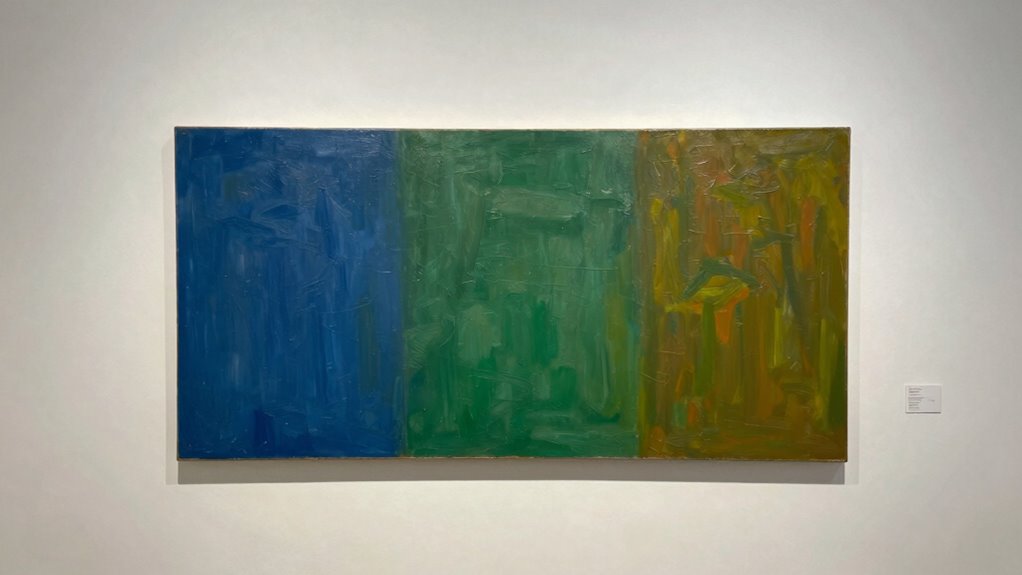
Why Does Glare Happen When Photographing Paintings?
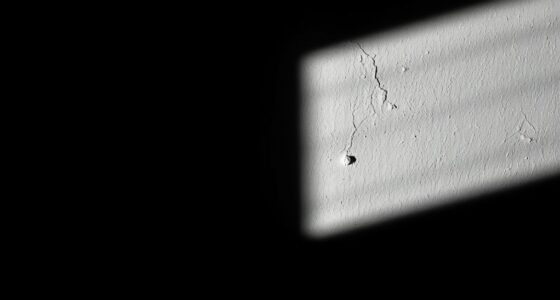
Glare occurs when photographing paintings because of reflections from light sources or the camera’s flash bouncing off the glossy surface. This happens due to light reflection, which is intensified by the surface sheen of many paintings. When light hits a glossy finish, it creates bright spots or uneven highlights that obscure details and distort colors. The angle of your light source and camera also play a role; if they align with the painting’s reflective surface, glare becomes more likely. Understanding that surface sheen amplifies the reflective properties helps you anticipate and avoid glare. Additionally, controlling your light setup and adjusting your shooting angle can significantly reduce unwanted reflections and capture a clear, true-to-life image of your artwork. Being aware of lighting angles and how they interact with reflective surfaces allows for more effective glare management and better photographic results. Employing techniques like using a polarizing filter can further minimize reflections and enhance the overall quality of your photographs. Proper positioning of the light source relative to the painting can also help prevent glare, especially when combined with light diffusion techniques. Using reflection control methods can make a noticeable difference in achieving glare-free images.

Selens Soft White Diffuser Foldable Light Diffuser Light Diffusion Panel
- High-Quality Durable Material: Long-lasting and sturdy construction
- Soft, Uniform Lighting: Ideal for video and photo shoots
- Easy to Use and Set Up: Pull to expand, hang or lean
As an affiliate, we earn on qualifying purchases.
As an affiliate, we earn on qualifying purchases.
When and Where to Photograph Your Artwork for the Best Light
The time of day and location can make a big difference in capturing your artwork with ideal lighting. You’ll want to shoot during the right hours and in settings that minimize glare and shadows. Choosing the best indoor spot or outdoor spot guarantees your painting looks its best in every shot. To ensure consistent brightness and avoid power issues, consider using a battery inverter generator that provides the appropriate watt-hours and capacity for your lighting setup. Additionally, selecting a well-lit environment with diffuse, natural light can significantly reduce glare and shadows, resulting in better photographs of your artwork. Ensuring your space has appropriate lighting control options can help you adjust light levels easily and achieve optimal results. Being mindful of indoor air quality can also contribute to a more comfortable environment for extended photo sessions, especially when using equipment that generates heat or fumes. Proper ventilation and air circulation can further enhance your comfort and the quality of your photos.
Optimal Time of Day
Choosing the right time of day is essential for capturing paintings without glare, as lighting conditions change throughout the day. Natural sunlight varies in intensity and angle, affecting how your artwork appears in photos. Early mornings and late afternoons usually provide softer, more diffuse light, minimizing harsh reflections and glare. Midday sunlight is often too intense and creates strong shadows or shiny spots that can ruin your shot. Pay attention to how sunlight enters your space—aim for periods when the light is indirect, gentle, and evenly distributed. By timing your photos during these suitable periods, you’ll reduce the need for extensive lighting gear and achieve more consistent, glare-free images of your artwork. Understanding natural light patterns can help you better predict the ideal times for photography and improve your results, especially when working with indoor lighting conditions. Additionally, being aware of credit card fraud risks can help protect your personal information if you’re using online payment methods during your art sales or transactions. Recognizing natural light variations can also assist in planning your shoots for optimal results, and being mindful of lighting consistency ensures your images remain uniform across different sessions.
Ideal Indoor Settings
Lighting conditions indoors can considerably impact how your artwork appears in photos. To achieve the best results, choose a space with even, diffused lighting—art gallery lighting is ideal because it minimizes glare and harsh shadows. If natural sunlight is available, opt for a bright, overcast day or position your artwork near a large window with sheer curtains to scatter the light. Keep the painting perpendicular to the light source to avoid reflections and uneven illumination. Avoid direct sunlight that creates hotspots or deep shadows, which can distort colors and details. Setting up in a well-lit room with consistent, soft lighting helps you capture true colors and fine details without glare. This controlled environment ensures your artwork looks its best without complicated lighting gear. Additionally, understanding lighting conditions can help you anticipate how different environments will affect your photographs and make adjustments accordingly. Being aware of natural lighting and how it interacts with your artwork can further improve your results. Knowing how to manage indoor brightness allows you to control reflections and shadows more effectively. Moreover, paying attention to lighting angles can significantly reduce unwanted glare and enhance the overall clarity of your photographs. Properly adjusting diffused light sources can also help eliminate harsh shadows and achieve a more professional look.
Choosing the Right Location
To get the best results, select a time and place where natural or artificial light is soft and consistent. Good lighting techniques depend on choosing an ideal location that minimizes glare and shadows. Consider these art display considerations:
- Photograph during cloudy days or in shaded areas to diffuse sunlight
- Use indoor spaces with large windows that provide even, indirect light
- Avoid direct sunlight that causes harsh reflections and glare
- Opt for neutral, uncluttered backgrounds to keep focus on the artwork
- Utilizing long-range drones can help capture the artwork from different angles without disturbing the setting
- Be mindful of lighting equipment placement to further reduce glare and ensure even illumination
- Selecting the right lighting conditions is essential for capturing accurate colors and details in your paintings
Position your artwork where light hits at a slight angle, not directly front-on, to reduce glare. By selecting the right location, you ensure your photos highlight the painting’s details, colors, and textures without unwanted reflections.

Leofoto MPL and MPL-2 Multi-Function Tool, Handy Survival Multi-Tool, Photographers Allen Wrench Kit, Carabiner for Tripod (MPL)
- Multi-function camera and photography tool: Camera multitool and photography tools
- Adjustable photography wrench: Adjustable photography wrench
- Versatile camera repair tool: A kind of camera tool
As an affiliate, we earn on qualifying purchases.
As an affiliate, we earn on qualifying purchases.
Easy Ways to Reduce Glare and Reflections Without Fancy Equipment
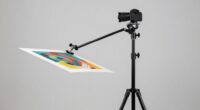
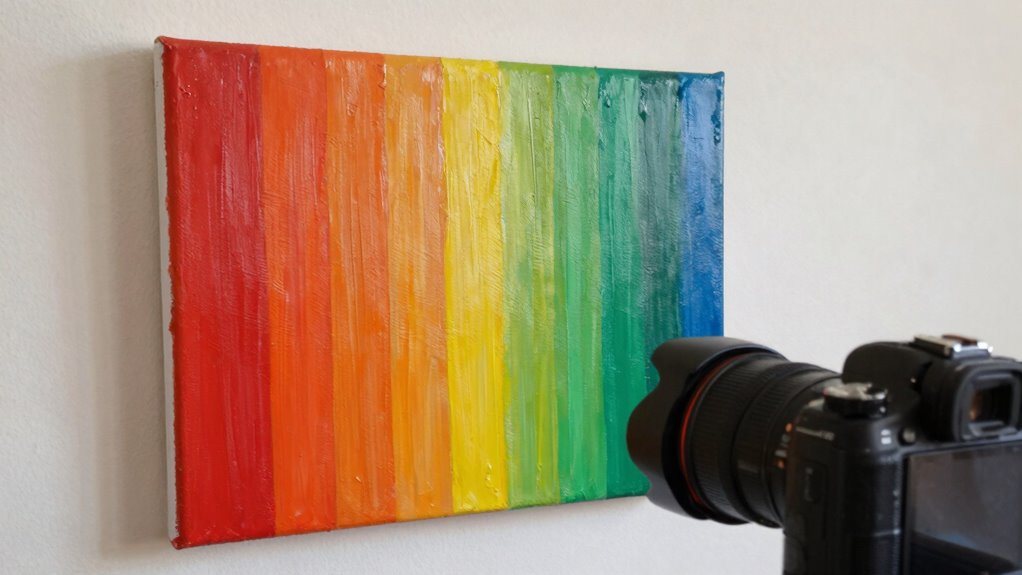
Reducing glare and reflections when photographing paintings doesn’t require expensive equipment; simple techniques can make a big difference. One effective lighting trick is to position your light source at a sharp angle, so it avoids bouncing directly off the painting’s surface. Using natural light from a window can also help, especially if you diffuse it with a sheer curtain. Framing techniques matter too—hold the camera so that the painting’s surface is as parallel as possible to your lens, minimizing reflections. Adjust your position until glare disappears from the shot. Sometimes, rotating the painting slightly or changing your angle can eliminate reflections without any fancy gear. These straightforward methods can dramatically improve your photos and make glare a problem of the past.

Photo Editor
- Color Adjustment: Exposure, brightness, contrast, saturation, hue, temperature, tint
- Color Fine-Tuning: Curves and levels adjustment
- Photo Effects: Gamma correction, auto contrast, vibrance, blur, sharpen, oil paint, sketch, black & white, sepia
As an affiliate, we earn on qualifying purchases.
As an affiliate, we earn on qualifying purchases.
How to Set Your Camera for Clear, Glare-Free Photos of Paintings
To get clear, glare-free photos of paintings, start by adjusting your camera’s white balance to match the lighting conditions. Using a narrow aperture helps deepen the focus and reduces unwanted reflections. These simple settings make a noticeable difference in capturing true, glare-free images.
Adjust White Balance
Adjusting your camera’s white balance is essential for capturing paintings accurately and avoiding unwanted glare. Proper white balance guarantees the colors in your photo match the artwork’s true hues, preventing a washed-out or overly warm look. To do this effectively, consider these tips:
- Use white balance presets like daylight, cloudy, or tungsten based on your lighting conditions
- Adjust the color temperature manually for precise control
- Take test shots and review the results for color accuracy
- Keep in mind that different lighting setups may require different white balance settings
Use Narrow Aperture
Using a narrow aperture, such as f/8 or higher, helps guarantee your photos of paintings are sharp and free of glare. This setting increases your depth of field, ensuring the entire artwork stays in focus. When you choose higher aperture settings, lens filters like UV filters or polarizers become more effective at reducing reflections and glare. Narrowing the aperture also minimizes lens flare caused by strong light sources, which can create unwanted glare on the painting’s surface. Keep in mind, though, that smaller apertures reduce light entering the camera, so you might need to compensate with a slower shutter speed or higher ISO. By combining a narrow aperture with appropriate lens filters, you’ll capture clear, glare-free images of your paintings with accurate detail.
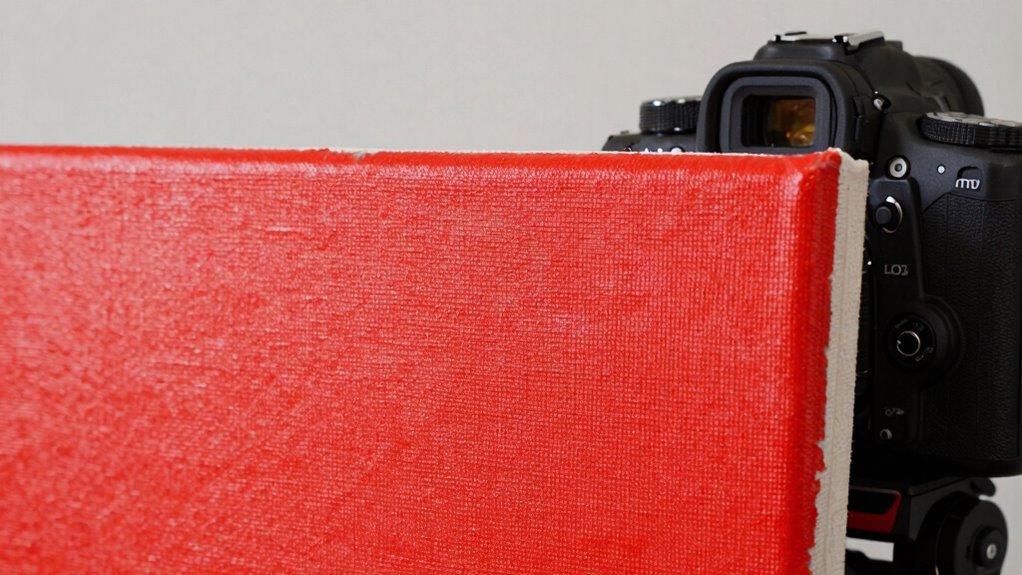
Camera Angles and Positioning Tips to Avoid Reflection
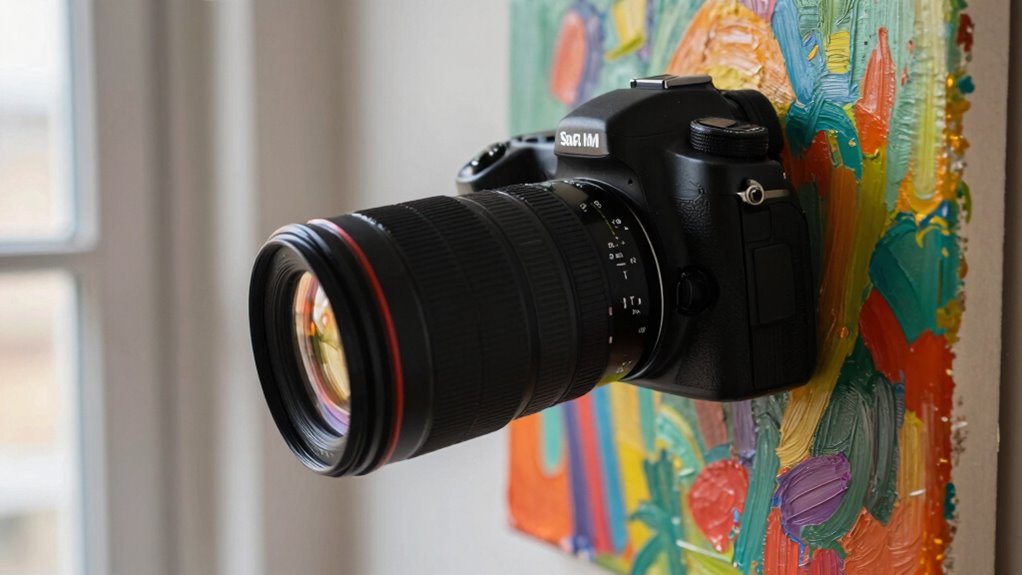
Positioning your camera at the right angles is key to minimizing glare when photographing paintings. To avoid reflections, focus on adjusting your camera positioning relative to the painting and light sources. Keep the camera slightly off-center or at a low or high angle to prevent direct reflections from hitting your lens. Experiment with different lighting angles to find positions that reduce glare without losing detail.
- Change your camera’s angle until reflections disappear
- Keep the camera perpendicular to the painting’s surface
- Shift your position to avoid direct light hitting the artwork
- Use side or angled shots to minimize reflections from overhead lights
Fixing Any Remaining Glare in Your Photos With Simple Editing
Even with careful camera placement, some glare may still appear in your photos. Luckily, you can fix remaining glare during post-processing corrections. Using editing software techniques, you can target and minimize glare spots without affecting the rest of the image. Start by zooming in on the affected areas and using tools like the clone stamp, healing brush, or spot removal to carefully blend out glare. Adjusting brightness and contrast locally can also help reduce shiny spots. If the glare is widespread, try applying subtle layer masks or frequency separation to preserve detail while evening out glare. These simple editing steps allow you to improve your photos efficiently, so you get a clean, glare-free image of your painting without the need for perfect lighting conditions.
Frequently Asked Questions
Can I Use a Smartphone to Photograph Paintings Without Glare?
Yes, you can use a smartphone to photograph paintings without glare. While smartphone limitations include less control over lighting and lens quality, you can minimize glare by shooting in diffused natural light and avoiding direct reflections. Use image editing techniques afterward, like adjusting brightness and contrast, to enhance your photos. This way, you can capture clear, glare-free images even without specialized lighting gear.
What Are the Best Times of Day for Natural Lighting?
You should aim to photograph paintings during the golden hour or on overcast days. During the golden hour, the soft, warm natural light minimizes glare and shadows, giving your photos a rich, even look. Overcast lighting provides diffuse, gentle light that reduces glare even further. Both times of day help you capture clear, well-lit images without harsh reflections or shadows, making your paintings look their best.
Do Different Painting Materials Affect Glare?
Different painting materials do affect glare. Paintings with a gloss finish tend to reflect more light, creating glare that’s harder to avoid, especially under bright or direct lighting. Matte finishes, on the other hand, diffuse light better and reduce glare. When photographing, pay attention to the painting’s surface to choose the right angle and lighting setup, helping you capture the artwork’s true colors without unwanted reflections.
How Do I Prevent Glare When Photographing Textured Artworks?
Think of your textured artwork as a shimmering pond; to prevent glare, change your lighting angles like adjusting a boat’s course. Use side lighting or diffuse light sources to soften reflections, especially on matte finishes. Avoid direct overhead lights, which cause harsh reflections. By strategically positioning your lights and choosing matte surfaces, you’ll capture the rich texture without unwanted glare, revealing the true depth and detail of your piece.
Is It Better to Use a Tripod or Handheld Camera?
You should use a tripod for photographing paintings because it offers better stability, reducing camera shake and ensuring sharp images. A tripod keeps your shot steady, especially in low light or when using slower shutter speeds. While handheld cameras offer greater flexibility and quick adjustments, they can lead to less stability. For the best results, prioritize tripod stability, but if you need quick shots or mobility, handheld can work—just be mindful of stability.
Conclusion
Now that you know how to avoid glare, capturing flawless photos of your paintings becomes easier than ever. Think of your camera as a shield against unwanted reflections, turning tricky lighting into a simple shot. With the right angles and minimal gear, you can create clear, vibrant images that showcase your art’s true beauty. It’s not about fancy equipment—it’s about smart techniques that let your artwork shine, glare-free and beautifully captured every time.