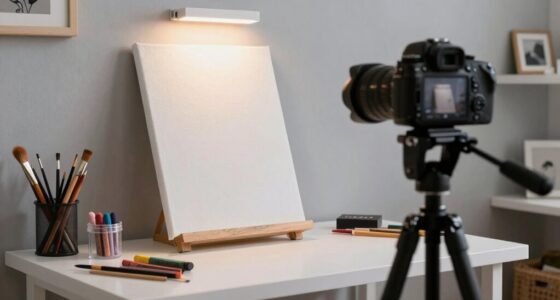
To avoid a grainy webcam look, focus on good lighting, using bright, diffused sources like ring lights, and guarantee your camera is steady with a tripod or stable surface. Clean your lens regularly and adjust camera settings for clarity. Choose a clean, uncluttered background with subtle textures or plants. Experiment with angles and test footage to find the best setup. Keep watching to discover how to perfect your tutorials and achieve a professional studio vibe.
Key Takeaways
- Use a high-quality camera with proper focus, resolution, and settings to ensure clear, sharp footage.
- Optimize lighting with adjustable LED panels or ring lights to eliminate graininess and improve image clarity.
- Keep the lens clean and steady the camera with a tripod or stabilization tools for stable, professional shots.
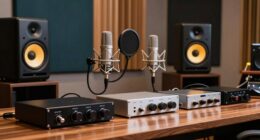
- Record in a quiet, clutter-free environment with controlled acoustics and minimal background noise.
- Post-process footage with color correction, sharpening, and noise reduction to enhance visual quality.

EMEET S600 4K Webcam for Streaming – Sony 1/2.55'' Sensor, PDAF Autofocus, 1080P@60FPS, 2 Noise Reduction Mics, Built-in Privacy Cover, 73° FOV, Streaming Camera for Live Commerce/Gaming/Beauty
Unmatched 4K Streaming Quality – The EMEET S600 streaming camera boasts a high-definition 4K sony 1/2.55'' sensor, delivering…
As an affiliate, we earn on qualifying purchases.
As an affiliate, we earn on qualifying purchases.
Why Is My Webcam Grainy? Causes and Fixes
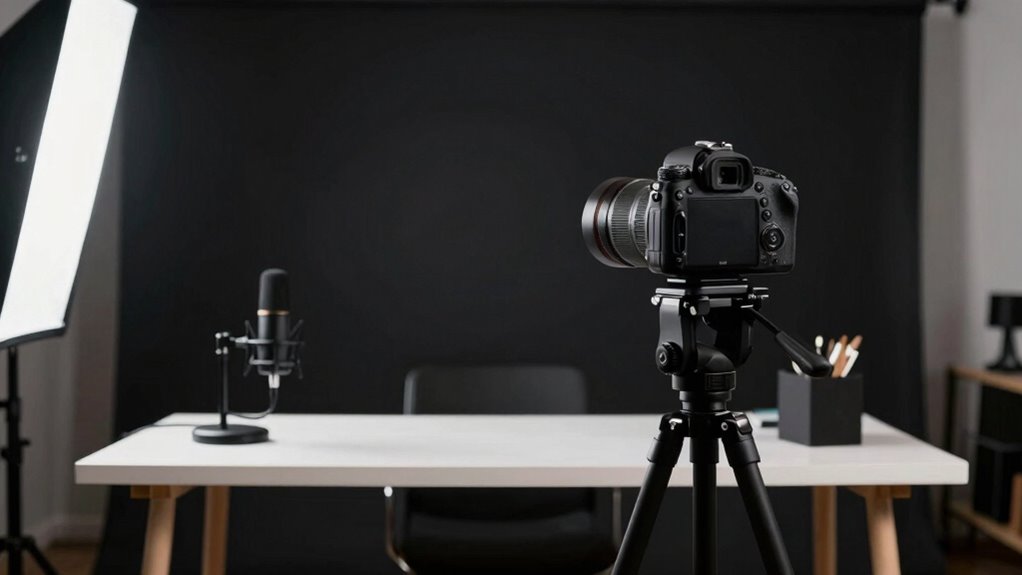
Have you noticed your webcam footage looks grainy or pixelated? The main culprits are often poor lens clarity and camera stability issues. If your lens is dirty or scratched, it can distort your image, making it appear blurry or grainy. Regularly clean your lens with a microfiber cloth to maintain crisp clarity. Additionally, camera stability matters; shaky footage can cause pixelation. Use a tripod or stable surface to keep your webcam steady during recordings. Poor lighting can also amplify graininess, but focusing on lens clarity and keeping your camera stable are critical first steps. When these elements are in check, your footage will look sharper and more professional, giving your tutorials a polished, studio-quality appearance. Also, consider the impact of indoor air quality, as dust and microplastics can settle on equipment, potentially affecting lens cleanliness and overall recording conditions. Maintaining good air quality can help prevent dust buildup and keep your equipment cleaner over time.

UBeesize 12'' LED Ring Light with 62'' Tripod Stand, Selfie Ring Light for Video Recording, Live Streaming, TikTok & YouTube, Compatible with iPhone & Android (Black)
【12” Powerful LED Ring Light with 240 LEDs】This upgraded 12-inch ring light features 240 high-efficiency LEDs delivering 10W…
As an affiliate, we earn on qualifying purchases.
As an affiliate, we earn on qualifying purchases.
How to Choose Affordable Equipment for Studio-Quality Tutorials
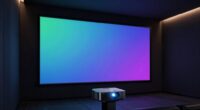
To get studio-quality tutorials without breaking the bank, start with budget-friendly camera options that still deliver clear images. Next, look for affordable lighting solutions that brighten your space evenly and professionally. With the right combination, you can produce professional-looking videos without overspending. Incorporating color accuracy in projectors can also help ensure your equipment stays in top condition for consistent quality, especially since color calibration plays a crucial role in maintaining visual fidelity over time. Paying attention to Free Floating techniques can further improve your setup by reducing unwanted movement or vibrations that affect image stability.
Budget-Friendly Camera Options
Looking for budget-friendly camera options that can deliver studio-quality tutorials? Consider models like the Logitech C920 or the Canon EOS M50 Mark II. These cameras offer solid image quality without breaking the bank. To guarantee your videos look professional, focus on camera stabilization—use a tripod or affordable gimbals to keep shots steady. Good audio quality is equally essential, so pair your camera with an inexpensive external microphone or lavalier mic. Even affordable DSLRs and mirrorless cameras can produce sharp, clear footage when properly stabilized and paired with quality audio gear. Remember, the key is balancing cost with essential features like reliable autofocus and decent low-light performance. With the right setup, you can achieve professional-looking tutorials without overspending. Additionally, understanding lighting techniques can drastically improve your video quality, making your content look more polished and studio-like. Incorporating camera settings optimization can further enhance image clarity and color accuracy, elevating your tutorial production. Moreover, paying attention to background setup can also add a more professional appearance to your videos. Ensuring proper camera placement can help create a more engaging and visually appealing tutorial. Exploring affordable accessories like ring lights or diffusers can also significantly enhance your lighting setup without a large investment.
Affordable Lighting Solutions
Affordable lighting can considerably elevate your studio tutorials without blowing your budget. To get professional results, focus on proper lighting placement to avoid harsh shadows and ensure even illumination. Pay attention to color temperature—aim for around 5500K for natural daylight effects or adjust for a warmer tone if desired. Here are some tips to make the most of affordable options:
- Use adjustable LED panels or ring lights for versatility
- Position lights at eye level or slightly above for flattering angles
- Incorporate DIY reflectors to bounce light and soften shadows
- Opt for daylight-balanced bulbs to match natural lighting
- Experiment with lighting placement to create depth and avoid flatness
- Consider your lighting setup in relation to your POS and consumer tech to ensure compatibility and optimal performance
- Regularly monitor your lighting quality to maintain consistent studio standards, especially when filming over extended periods
- Utilize affordable lighting accessories like diffusers and filters to further enhance your setup
- Additionally, researching lighting techniques can help you better understand how to manipulate light for professional-looking results.
- Being aware of the room environment and background can also influence how effective your lighting appears, so plan accordingly.
With thoughtful choices, you can achieve studio-quality tutorials without overspending.
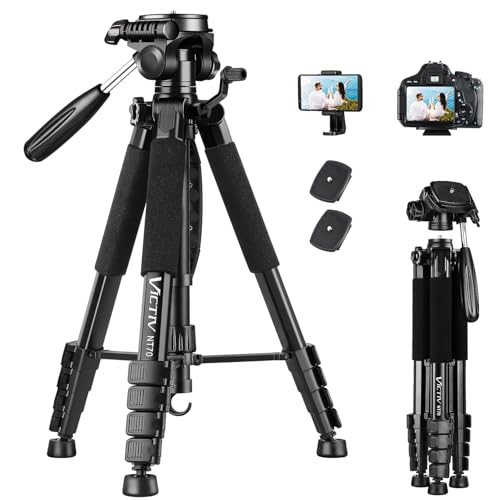
VICTIV 74” Camera Tripod, Tripod for Camera and Phone, Aluminum Professional Tripod Stand for Canon Nikon with Carry Bag and Phone Holder, Compatible with DSLR, iPhone, Spotting Scopes, Max Load 9.5Lb
【74 Inch Tall Tripod and Compact Tripod】 This tall camera tripod has a height adjustment range of 19-74…
As an affiliate, we earn on qualifying purchases.
As an affiliate, we earn on qualifying purchases.
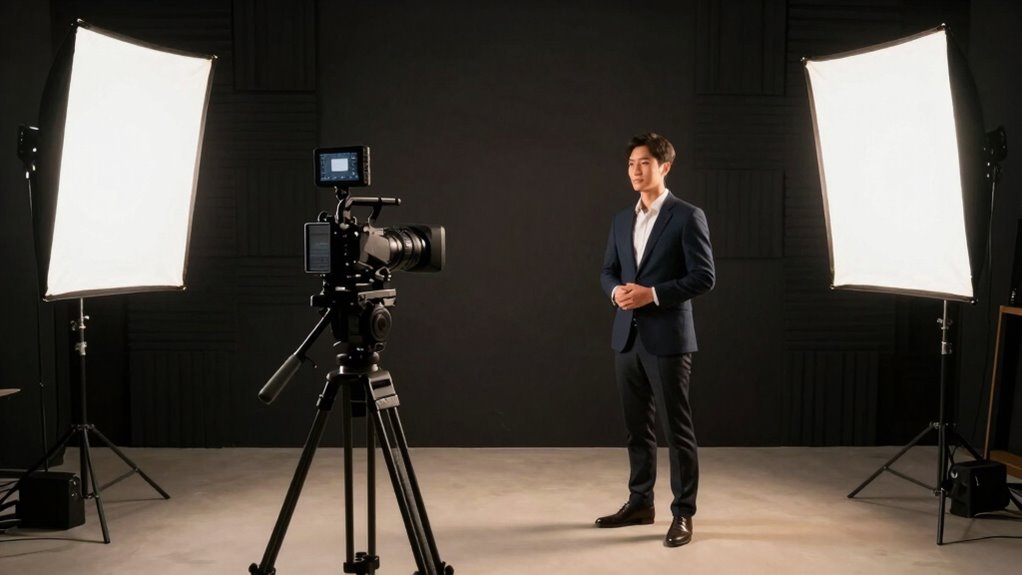
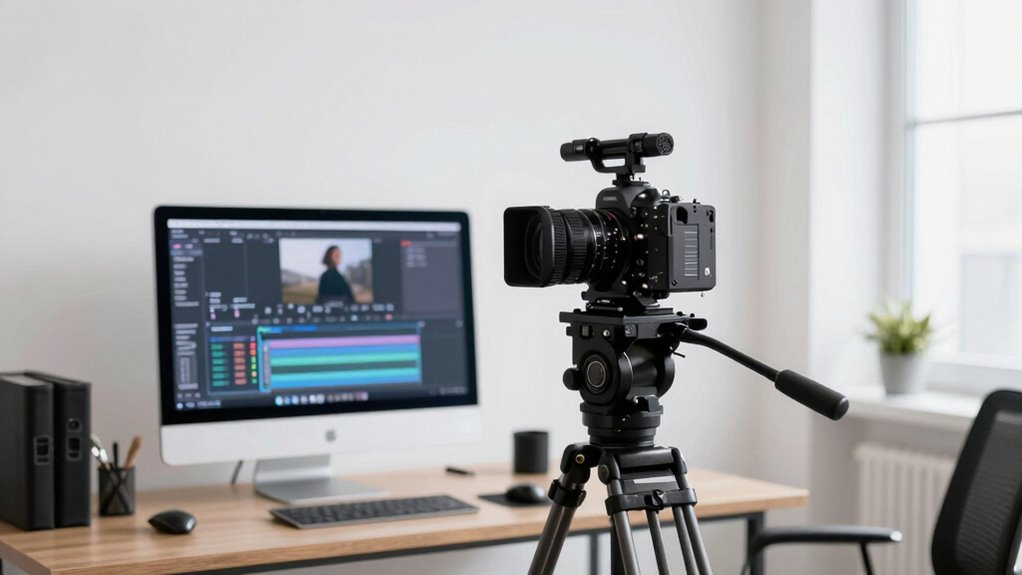
Setting Up Proper Lighting and Camera Settings
Proper lighting and camera settings are essential for achieving professional-looking studio tutorials. Good lighting enhances clarity and minimizes shadows that can distract viewers, while also improving studio acoustics by reducing echo. Use soft, diffused lights positioned at eye level to evenly illuminate your face, avoiding harsh shadows. Adjust your camera framing so your head and shoulders are centered, with enough headroom for a balanced shot. Set your camera to a high resolution and ensure proper focus to prevent blurriness. Check your white balance to match your lighting setup, avoiding color casts. Keep the background simple and clutter-free, emphasizing your face. Consistently monitor audio levels, as clear sound complements visual quality and maintains viewer engagement. Incorporating environmentally friendly materials for your lighting or backdrop can also reflect a commitment to sustainability in your content. Additionally, using proper camera settings tailored to your environment can significantly enhance overall video quality. Paying attention to lighting color temperature helps maintain natural skin tones and cohesive visuals throughout your tutorial. Adjusting your camera’s exposure settings can also help prevent overexposed or underexposed footage, ensuring a polished look. Regularly testing different camera angles can add visual interest and improve viewer engagement.

LANDIBO USB Microphone, Plug and Play Desktop Laptop gooseneck Microphone, Suitable for Games, conferences, Streaming, and Tutorials K050 Recording, podcasting, Gaming, and Online Chat
Plug and play, easy to use: No need to install additional drivers, just make sure your computer has…
As an affiliate, we earn on qualifying purchases.
As an affiliate, we earn on qualifying purchases.
Creating a Professional Background for Your Tutorials
Choosing the right space is essential to make your tutorials look professional and polished. You should select an area that’s clean, quiet, and has good lighting. Adding visual elements or a simple backdrop can also boost the overall appeal of your videos. To maintain a tidy appearance, consider incorporating household organization tips to keep your filming area clutter-free. Additionally, using mount leveling kits can help ensure your camera and projector setup appear stable and aligned during recording.
Choosing the Right Space
Selecting the right space is crucial for creating a polished tutorial that looks professional and engages your viewers. Your chosen space impacts studio acoustics and minimizes ambient noise, guaranteeing clear audio. Look for a quiet room with minimal echo or background distractions. Avoid areas with busy streets or loud appliances that can disrupt sound quality. Consider a space with soft furnishings or soundproofing to improve acoustics. Also, ensure the background isn’t cluttered or distracting, keeping the focus on you. A dedicated, controlled environment helps you maintain consistency and professionalism. Keep these tips in mind to choose a space that enhances your tutorial’s overall quality and viewer experience.
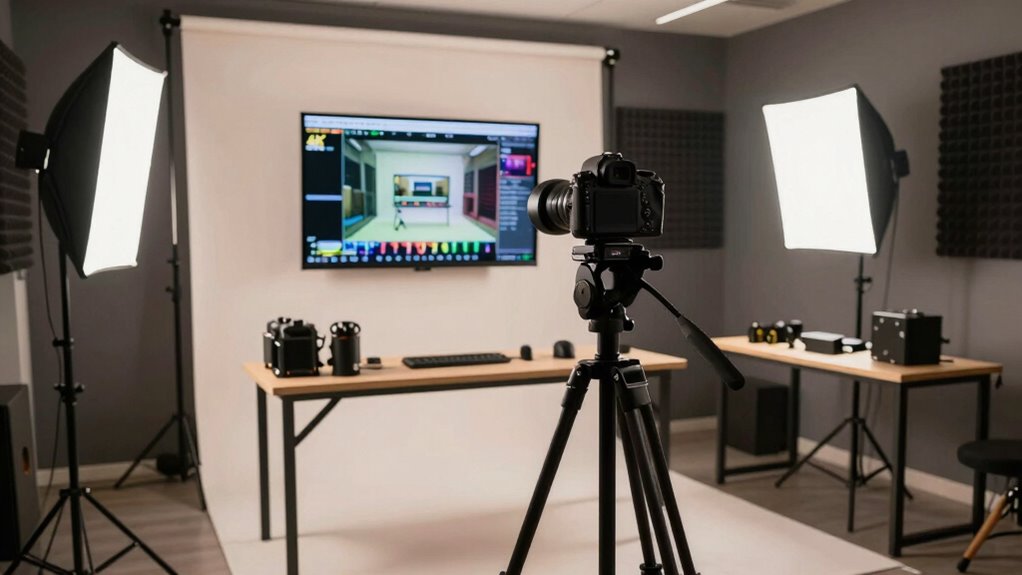
Enhancing Visual Appeal
A well-designed background can considerably boost the professionalism and visual appeal of your tutorials. Use effective lighting techniques to eliminate shadows and create a balanced, inviting atmosphere. Soft, diffused light works best, so consider adding ring lights or softboxes to illuminate your space evenly. Pay attention to background decor—choose simple, uncluttered elements that reflect your brand or style without distracting viewers. Incorporate subtle textures, plants, or minimalistic shelves to add depth and interest. Keep the focus on you while ensuring the background complements your content. Clean, intentional design combined with proper lighting makes your tutorials look polished and professional, helping viewers stay engaged and confident in your expertise.
Editing Tips to Sharpen and Enhance Video Quality
To improve your video quality, sharpening and enhancing footage is essential. Proper editing can transform grainy clips into professional-looking content. Focus on key areas like color grading to correct and boost hues, making your visuals pop. Use audio enhancement techniques to eliminate background noise and improve clarity, ensuring your voice stands out. Sharpen your footage carefully; too much can create noise, while too little leaves it dull. Balance these elements for a crisp, vibrant look. Additionally, apply subtle filters or contrast adjustments to add depth. Remember, clean audio and vibrant visuals work together to elevate your tutorial. By sharpening and enhancing your footage thoughtfully, you avoid the grainy webcam look and produce polished, engaging videos.
- Focus on precise color grading for visual consistency
- Use audio enhancement to clarify sound quality
- Apply selective sharpening to avoid noise
- Adjust contrast and brightness for depth
- Balance edits for a natural but professional finish
How to Test and Refine Your Setup for Consistent Results
Before you start recording your studio tutorials, it’s important to test and refine your setup to guarantee consistent results. Begin with audio calibration by checking your microphone levels. Speak naturally and adjust gain so your voice sounds clear without clipping. Proper microphone placement is vital—position it close enough to capture your voice clearly but avoid plosives by keeping it slightly off-axis. Record a short test clip and listen carefully for background noise, echo, or uneven sound. Make adjustments to your microphone position, room acoustics, or audio settings as needed. Repeat the process until your audio sounds professional and consistent. Small tweaks now will save you time during editing and ensure your tutorials look and sound polished every time.
Frequently Asked Questions
What Are Common Mistakes Beginners Make in Studio Tutorial Filming?
You often make the mistake of neglecting proper lighting setup, which can cause your footage to appear dull or grainy. Additionally, poor camera angles can make your tutorials hard to follow or unprofessional. To improve, focus on even lighting and experiment with camera angles that highlight your workspace clearly. Avoid rushing through setup, and you’ll create more engaging, high-quality tutorials that look professional and polished.
How Can I Improve Audio Quality Alongside Video Clarity?
To elevate your tutorial quality, focus on audio enhancement and microphone placement. Position your microphone close to your mouth, ideally at mouth level, to capture clear sound and minimize background noise. Use an external microphone rather than built-in options for better clarity. Also, consider investing in audio editing tools to clean up your sound. Combining these steps will help your videos sound as professional as they look, engaging your viewers seamlessly.
What Software Options Are Best for Recording and Editing Tutorials?
You should consider editing software like Adobe Premiere Pro or DaVinci Resolve, which support high screen resolution recording and editing. These programs let you capture clear, detailed videos and enhance them easily. They offer advanced tools for trimming, adding effects, and improving overall quality. By choosing reliable editing software that handles high-resolution footage, you guarantee your tutorials look professional and sharp, making your content more engaging for viewers.
How Do I Maintain Consistent Lighting Throughout Filming Sessions?
Think of your lighting as the steady beat of a drum—maintain it to keep your tutorial smooth. To guarantee lighting consistency, use soft, diffused lights and keep them at the same distance and angle. Regularly calibrate your color settings on your camera and monitor to match the lighting. This way, your visuals stay vibrant and uniform, creating a professional look that keeps viewers engaged throughout the session.
Can Smartphone Cameras Produce Studio-Quality Tutorial Videos?
Smartphone cameras can produce impressive tutorial videos, but they have limitations like lower sensor quality and less control over settings. To achieve studio-quality results, you’ll want to invest in studio camera options that offer better image clarity, depth, and professional features. Use good lighting, stabilize your shots, and consider external microphones. While smartphones are convenient, professional studio cameras give you more control for truly polished, high-quality tutorials.
Conclusion
So, next time you set up your studio, remember that chasing the perfect pixel can make your videos look as clear as a tropical pond—if you ignore the basics. Ironically, all it takes is good lighting, decent equipment, and a little patience to turn that grainy webcam into a professional-looking tutorial. Who knew that the secret to studio-quality videos was simply not filming in a dark closet? Now, go out there and shine!