
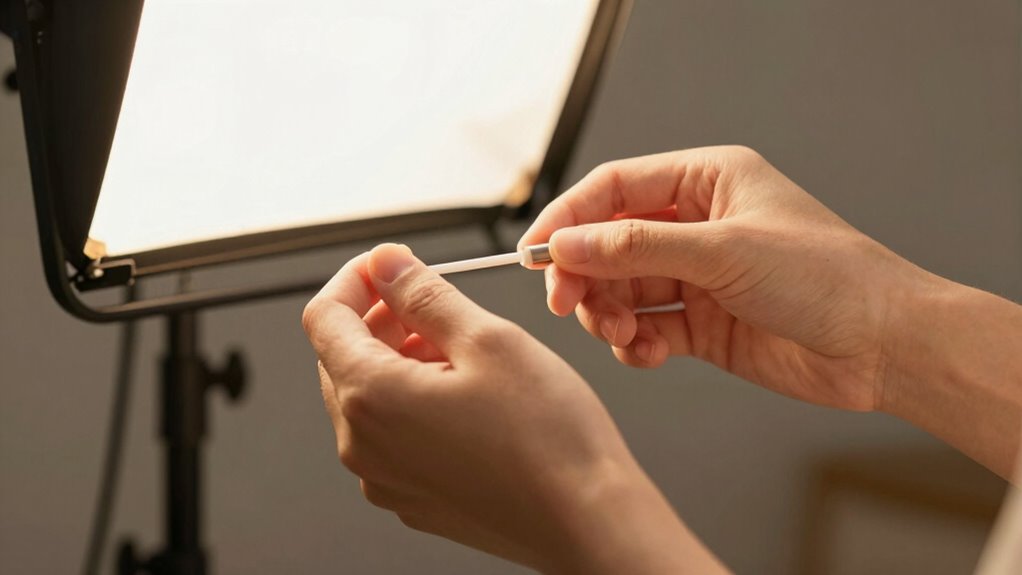
To create a flattering hand lighting setup for demo videos, use softboxes or diffusers that soften and scatter light evenly across your hands. Place lights slightly above and to the sides at angles that minimize shadows and glare, while possibly adding a backlight behind to separate hands from the background and add depth. Incorporate reflectors or bounce cards to fill in shadows, and adjust intensities for natural skin tones. Keep experimenting, and you’ll discover the perfect setup for professional results.
Key Takeaways
- Use large, diffused softboxes positioned slightly above and to the sides of your hands for soft, even lighting.
- Incorporate reflectors to fill shadows and achieve balanced illumination on all hand angles.
- Position backlighting behind the hands to add depth and prevent flat appearance, enhancing visual interest.
- Set the color temperature around 5500K for natural skin tones and consistent, flattering lighting.
- Experiment with hand placement and light angles to minimize glare, reflections, and shadows for a polished look.

Torjim Softbox Photography Lighting Kit, 16'' x 16'' Professional Softbox Lighting Kit with 85W 3000-7500K LED Bulbs, Studio Lights for Photography/Video Recording/Live Streaming/Portraits Shooting
【Illuminate Your Creativity】 Torjim softbox lighting kit is made of high-quality PET fabric and a foldable nylon cover,…
As an affiliate, we earn on qualifying purchases.
As an affiliate, we earn on qualifying purchases.
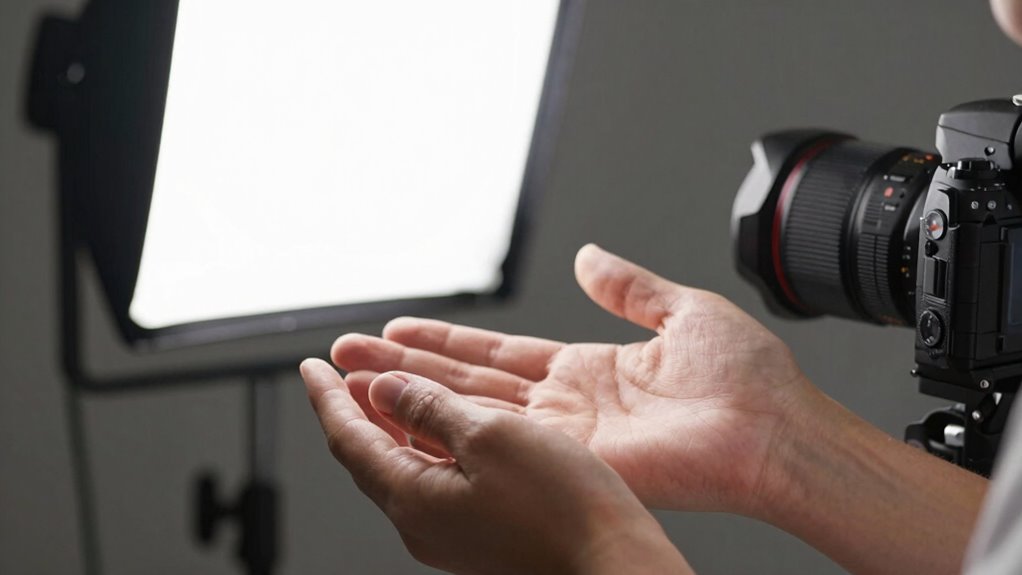
Why Proper Hand Lighting Makes Your Demo Videos Look More Professional
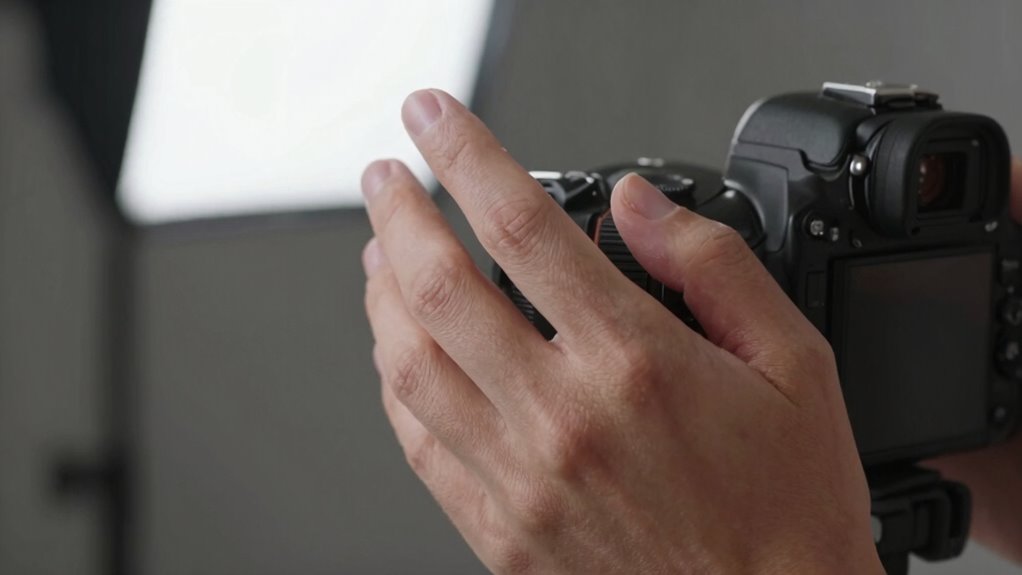
Proper hand lighting is vital because it guarantees your demo videos look polished and professional. When your hands are well-lit, your hand gestures become clearer, making your instructions easier to follow. Consistent lighting also reduces shadows that can obscure important details or create distractions. The background color plays a pivotal role; a neutral or contrasting background ensures your hands stand out without blending in. Proper hand lighting highlights the natural movement and gestures, adding emphasis and aiding viewer engagement. When your hands are well-illuminated, it enhances the overall quality, making your demo appear more confident and polished. Additionally, lighting quality directly impacts the viewer’s perception of your content’s credibility and professionalism. Using appropriate lighting techniques helps achieve even illumination and minimizes unwanted shadows. Employing adjustable light positioning allows for better control over shadows and highlights, further elevating your presentation. Paying attention to lighting angles can make a significant difference in how your hands appear on camera, ensuring your gestures are easily understood. Incorporating proper equipment can also help in maintaining consistent and reliable lighting throughout your recordings. This simple step helps maintain viewer focus on your message, ensuring your presentation looks intentional and professional from start to finish.
![waka Flash Diffuser Light Softbox, [2 Pack] Speedlight Softbox Collapsible with Storage Pouch - 8" Octagon Softbox + 8"x6" for Canon, Yongnuo and Nikon Speedlight](https://m.media-amazon.com/images/I/41R+q3NlgDL._SL500_.jpg)
waka Flash Diffuser Light Softbox, [2 Pack] Speedlight Softbox Collapsible with Storage Pouch – 8" Octagon Softbox + 8"x6" for Canon, Yongnuo and Nikon Speedlight
GET 2 IN 1 PACK – Come with one 8" Octagon Softbox and one 8"x6" Rectangle Softbox and…
As an affiliate, we earn on qualifying purchases.
As an affiliate, we earn on qualifying purchases.
How to Choose Softboxes and Diffusers That Flatter Hands
Choosing the right softboxes and diffusers starts with considering their size and shape to best complement your hands. Next, think about diffuser materials that soften the light without creating harsh shadows. Properly selecting lighting equipment can also influence the overall flattering effect on your hands. Additionally, experimenting with light positioning techniques can help you achieve more even and appealing illumination. Proper lighting setup can significantly enhance your demonstration videos by ensuring your hands look natural and flattering. Incorporating light quality considerations, such as color temperature and diffusion level, can further improve the overall aesthetic. Finally, pay attention to light positioning techniques to make certain your hands are evenly and flatteringly lit. Incorporating passive voice detection tools can also help ensure your instructions are clear and direct.
Softbox Size and Shape
When selecting softboxes and diffusers to flatter hands in your demo videos, size and shape matter considerably. Larger softboxes create softer, more even light that minimizes harsh shadows and reduces lens flare, ensuring your hands look smooth and professional. Smaller softboxes are more portable and ideal for highlighting specific details but may produce sharper shadows. The shape also influences light quality; rectangular or square softboxes tend to produce broader, more natural light, while octagonal or round ones offer a more diffused, even glow. Using color gels with your softboxes can add warmth or coolness, enhancing the overall aesthetic. Choose shapes that prevent unwanted reflections or glare on shiny surfaces, especially when working with reflective objects or surfaces that could cause lens flare. Light diffusion is another important concept to consider for achieving a flattering look on hands. Additionally, considering the lighting setup can help you control shadows and highlights more effectively, resulting in a more professional appearance. Incorporating appropriate light modifiers can further refine the softness and direction of your light, improving the overall quality of your demo videos. Paying attention to the material of the diffuser can also significantly impact how evenly the light is spread and how natural your lighting appears. Using diffuser materials that are designed for even light distribution can help achieve a more seamless and flattering effect.
Diffuser Material Choices
Selecting the right diffuser material is essential for achieving flattering, natural-looking hands in your demo videos. Your choice impacts lighting diffusion, softening shadows and reducing glare for a more appealing appearance. Opt for diffuser materials like silk or frosted acrylic, which evenly scatter light without hotspots. These materials help create a smooth, gentle glow that highlights hands without harsh shadows. Consider the diffusion level; higher diffusion offers softer light, while lower diffusion maintains some contrast. Also, look for durability and ease of cleaning to ensure longevity. Remember, your diffuser material choices directly influence the quality of lighting diffusion, shaping how naturally your hands appear on camera. Incorporating proper humidity control can further enhance your lighting setup by reducing static and glare issues. A well-chosen diffuser enhances your setup, making your demo videos look more professional and engaging. According to insulated jackets for winter, choosing the right materials can improve the overall softness and warmth of your lighting setup. Additionally, paying attention to lighting diffusion techniques can help optimize the effects of your chosen diffuser material for the best results. To maintain optimal performance, consider material durability to ensure your diffuser remains effective over time. Using consistent maintenance practices can also extend the lifespan and effectiveness of your diffuser setup.
Light Positioning Techniques
To flatter hands in your demo videos, you need to position your softboxes and diffusers carefully to create soft, even lighting that minimizes shadows and highlights natural contours. Start by considering your hand gestures; position your lights at angles that illuminate your hands evenly without casting harsh shadows. Typically, placing softboxes slightly above and to the sides of your hands offers the most flattering results. Adjust the lighting angles until you achieve a balanced look that enhances movement and detail. Keep in mind that too much direct light can wash out your gestures, so experiment with diffusers to soften the light further. Proper light positioning guarantees your hands look natural, clear, and engaging, making your demo videos more professional and visually appealing. Additionally, understanding studio setup principles can help optimize your lighting environment for consistent results.

2 Pack Flash Diffuser Reflector – 2-Sided White/Silver Bend Bounce Flash Reflector Kit with Elastic Strap for Canon, Nikon, Sony, Fuji and All Speedlight Flashes
2 Pcs of TOAZOE Two-Sided Flash Diffuser Reflector for Shoe Mount Flashes.
As an affiliate, we earn on qualifying purchases.
As an affiliate, we earn on qualifying purchases.
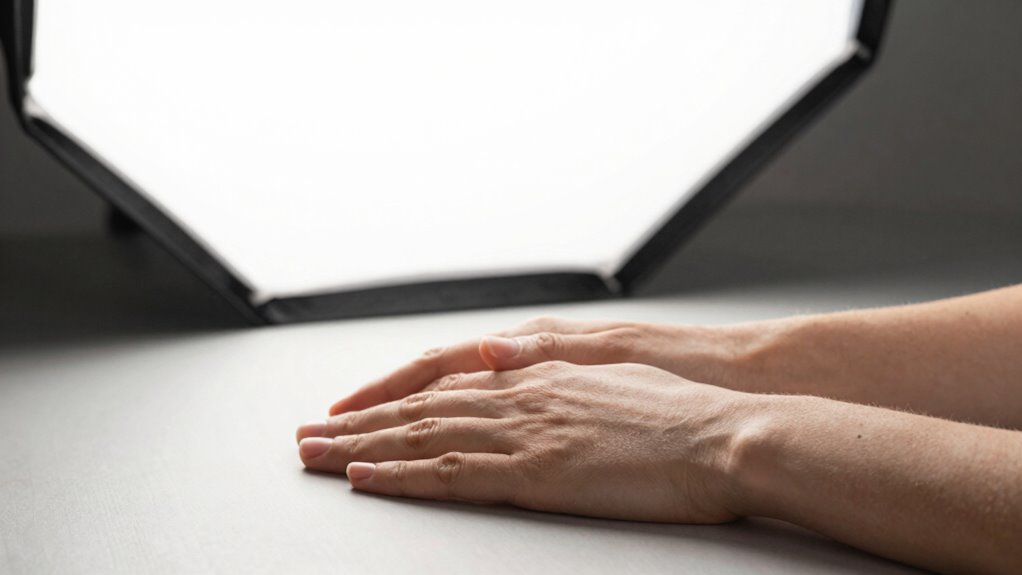
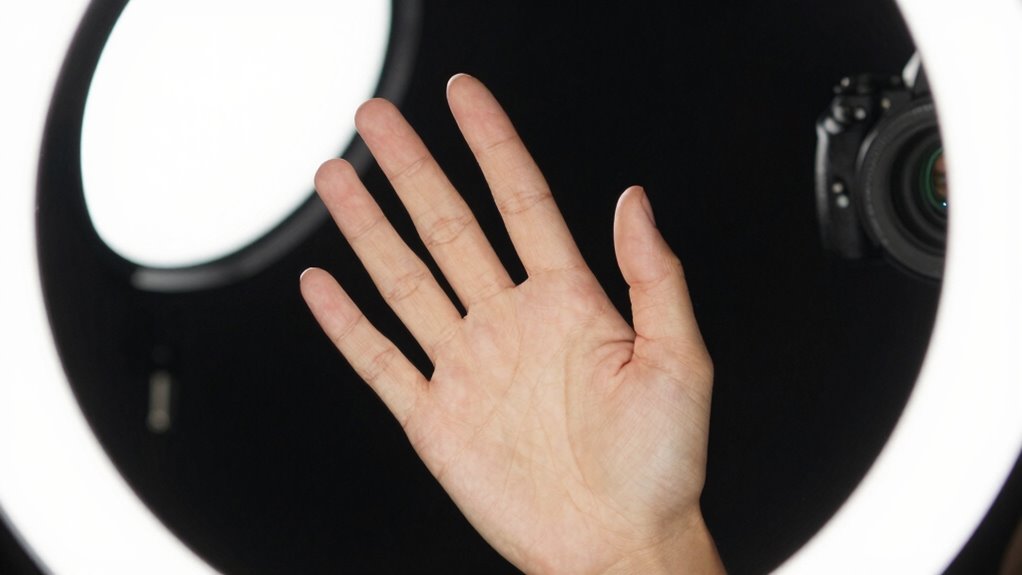
Where to Place Your Lights for Even, Shadow-Free Hand Shots
To achieve even, shadow-free hand shots, you should use multiple light sources placed strategically around your workspace. Position your lights at eye level to minimize harsh shadows and make certain consistent illumination. This setup helps your hands stay well-lit from all angles, making your demo videos look professional. Incorporating art and culture intersections into your lighting design can also create subtle visual interest and enhance the overall aesthetic of your videos.
Use Multiple Light Sources
Have you ever noticed how uneven shadows can ruin a demo video of your hand movements? Using multiple light sources helps create even, shadow-free shots by filling in gaps and reducing harsh contrasts. Place lights at different angles around your hand, ensuring the light wraps evenly and highlights your hand positioning clearly. This technique aligns with home design principles that emphasize balanced proportions and thoughtful placement to enhance overall aesthetics. This approach minimizes background contrast issues, making your hands stand out without distracting shadows.
Position Lights at Eye Level
Positioning your lights at eye level guarantees your hand remains evenly illuminated from the viewer’s perspective. This placement helps you control lighting angles for a natural, flattering look. When lights are at eye level, shadows fall softly and directly beneath or around the hand, making shadow control easier. It prevents harsh shadows and uneven highlights that can distract viewers or obscure details. Adjust the lights slightly closer or farther to fine-tune the shadow softness and overall brightness. Keep the lights aligned with your camera’s lens to ensure consistent, even coverage. This setup simplifies illumination, making your demo shots appear professional and polished. Proper eye-level lighting creates a balanced, shadow-free environment that highlights your hand movements clearly and attractively.

3 Packs 70 LED Video Light with Adjustable Tripod Stand/Color Filters, Obeamiu 5600K USB Studio Lighting Kit for Tablet/Low Angle Shooting, Collection Portrait YouTube Photography
[ Multiple Color and Brightness Levels ]: 360° Full Color will be make your photography more colorful. LED…
As an affiliate, we earn on qualifying purchases.
As an affiliate, we earn on qualifying purchases.
How to Use Fill Lights to Minimize Shadows and Show Details
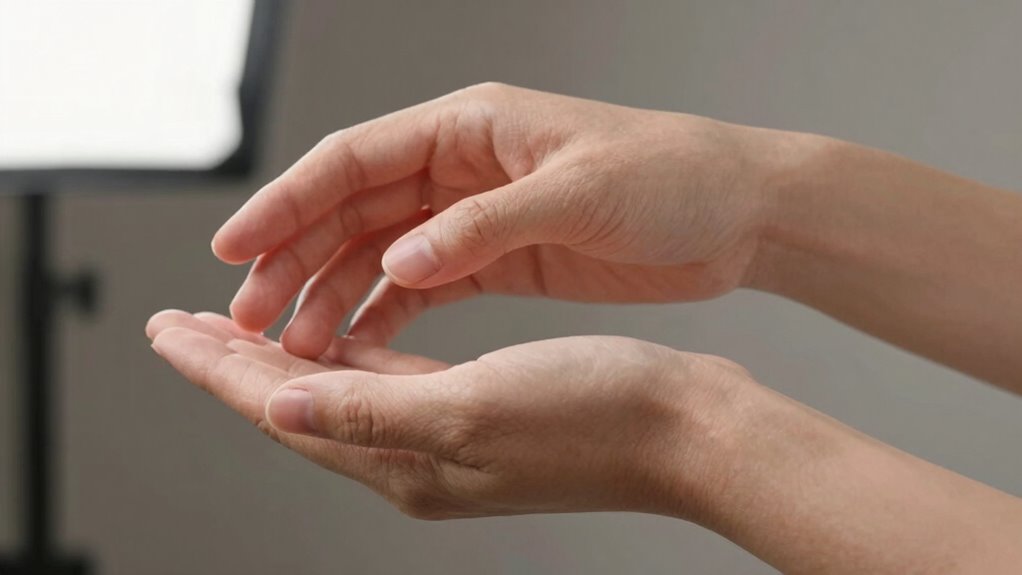
Fill lights are essential for reducing harsh shadows and revealing intricate details in your demo videos. They soften the contrast created by primary lights, guaranteeing your hands and objects are clearly visible. Proper use of fill lights enhances shadow reduction and detail enhancement, making your demonstrations more professional and engaging. Position your fill lights at a lower angle or off to the sides to evenly illuminate your hands without creating new shadows. Adjust the intensity so they’re bright enough to fill in shadows but not overpower the main lights. This balance ensures your hands look natural and detailed. Remember, the goal is to create a soft, even light that highlights your movements and products while minimizing distracting shadows. This technique makes your demo videos more polished and visually appealing.
- Use diffusers to spread the fill light evenly
- Keep fill light intensity lower than main lights
- Experiment with angles for guaranteed shadow reduction
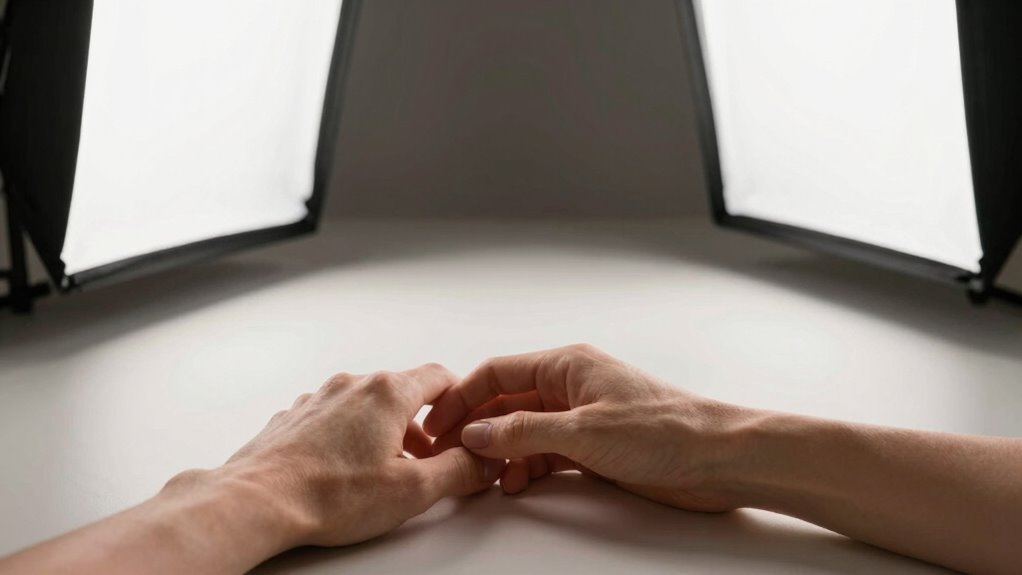
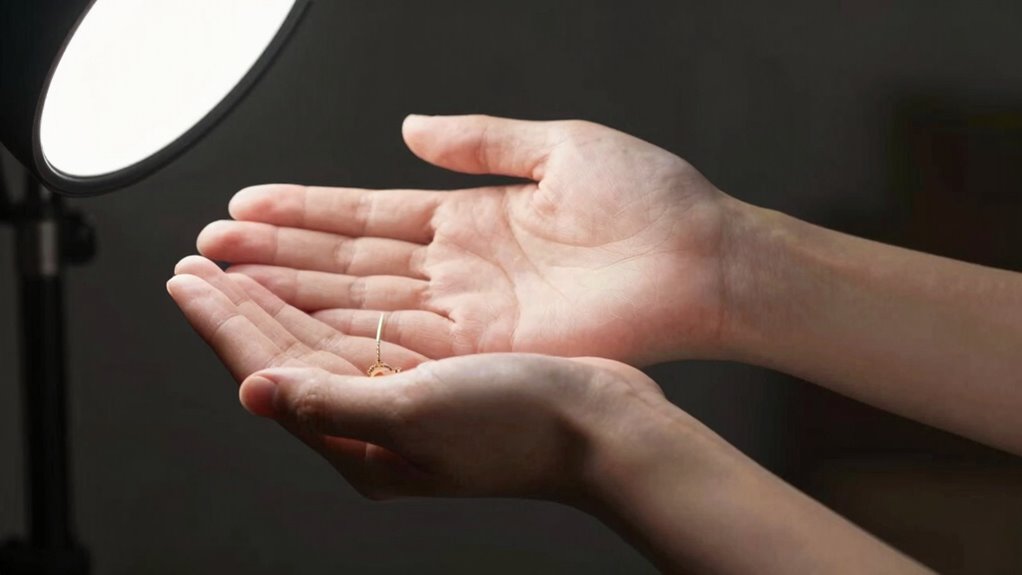
How to Add Backlighting for Depth and Hand Separation

To add effective backlighting, you need to position the light behind you, facing toward the subject. Adjust the light’s intensity so it creates a subtle glow without overpowering your main lights. This setup helps add depth and makes your hands stand out clearly in the video.
Positioning Behind the Camera
Adding backlighting behind the camera is essential for creating depth and ensuring your hands stand out clearly against the background. Proper positioning of your lights can dramatically improve the quality of your demo videos. Focus on adjusting your hand positioning and camera angles to maximize the backlight’s effect. Keep the light slightly above and behind your hands to create a natural separation. Experiment with different camera angles to find the best perspective that enhances your hand movements.
- Use a low angle to emphasize depth and make your hands pop
- Position the backlight close enough to create a strong halo effect
- Adjust your hand placement so they stay within the illuminated zone for clarity
Adjusting Light Intensity
Adjusting the light intensity is key to achieving the perfect balance between highlighting your hands and maintaining natural depth. Too bright, and your hands cast harsh shadows, flattening the scene; too dim, and they lose definition. To add backlighting for depth and hand separation, subtly increase the backlight’s strength until you see a gentle hand shadow that separates your hands from the background. Pay attention to the light color, opting for a warmer tone to create a natural look or a cooler hue for a modern feel. Adjusting the backlight’s intensity thoughtfully ensures your hands stand out clearly, avoiding a flat appearance. This balance improves visual clarity and makes your demo videos look more professional and engaging.
Setting Color Temperature for Natural, Flattering Skin Tones
Choosing the right color temperature is key to capturing natural, flattering skin tones in your demo videos. When you set the correct color temperature, your skin looks vibrant and true-to-life, avoiding harsh or washed-out effects. To achieve this, consider these tips:
- Use a color temperature around 5500K for daylight-like, neutral skin tones.
- Adjust your lights based on your environment’s ambient light to prevent color clashes.
- Test different settings to see how skin tones appear under various temperatures, ensuring a warm or cool balance that complements your subject.
Common Lighting Mistakes That Make Hands Look Unflattering

Ever wonder why certain lighting setups make hands look unflattering on camera? One reason is harsh or uneven lighting that creates distracting hand shadows, making your hands appear distorted or unappealing. Another mistake is using incorrect lighting color; if the light is too cool or warm, it can cast unflattering hues on your skin and hands, emphasizing imperfections. Shadows that fall awkwardly or unevenly can also draw attention away from what you’re demonstrating, reducing the overall professionalism of your video. To avoid these issues, ensure your light source is soft and well-diffused, reducing harsh shadows. Also, choose a lighting color that complements your skin tone, creating a natural, flattering look that keeps the focus on your hands rather than unintentional shadows or color casts.
How to Adjust Light Intensity for Consistent, Professional Results
To achieve consistent, professional results in your demo videos, controlling light intensity is essential. Proper adjustment helps prevent harsh shadows and ensures your hands are evenly lit, reducing hand shadow avoidance issues. It also maintains light color consistency, so your skin tones look natural and appealing. To do this, start by using dimmers or adjusting your light source’s distance from your hands. Keep your lights at a stable intensity to avoid flickering or uneven brightness. Regularly check the lighting from multiple angles to catch any inconsistencies. Remember, subtle changes in intensity can make a big difference in the final look. Consistency is key for a polished, professional appearance that highlights your hands without distractions.
- Use adjustable light sources for fine control
- Regularly monitor lighting levels during shoots
- Keep light color temperature steady throughout filming
Tips for Testing and Fine-Tuning Your Hand Lighting Setup
Testing and fine-tuning your hand lighting setup is essential to achieving the perfect look on camera. Start by experimenting with hand positioning to find the most flattering angles that minimize shadows and highlight your hands naturally. Adjust your camera angles to see how different perspectives affect the lighting and overall appearance. Move your hands slowly to observe how the light interacts with your skin and jewelry, making sure there are no harsh reflections or unflattering shadows. Use a mirror or record test footage to evaluate the results and identify areas needing improvement. Keep tweaking the positioning of your lights and your hand placement until you achieve even, soft illumination that complements your demo without distracting viewers.
Accessories and Techniques to Elevate Your Demo Video Lighting
Using the right accessories and techniques can dramatically enhance your demo video lighting. To highlight your hands effectively, consider using diffusers, reflectors, and adjustable stands. These tools help control shadows and soften light, making hand positioning look natural and appealing. Grip techniques matter too; a steady grip ensures stable shots, while specific hand positioning minimizes glare and unwanted reflections. Incorporate small accessories like clip-on lights or bounce cards to direct light precisely where needed. Experiment with different angles and distances to find the ideal setup for your hands. Properly chosen accessories combined with refined grip techniques will create a professional, flattering look that keeps viewers focused on your demo. Remember, enhancing lighting isn’t just about equipment—it’s about how you use it.
Frequently Asked Questions
What Are the Best Light Colors for Natural-Looking Hand Skin Tones?
You should use light with a color temperature around 5000K to 5500K for natural-looking hand skin tones. This range offers a neutral, daylight-like glow that enhances skin tone harmony. Avoid overly warm or cool lights, as they can distort skin colors. By matching your light’s color temperature to natural daylight, you create a balanced, flattering look that accurately represents skin tones in your videos.
How Can I Prevent Reflections and Glare on Shiny Hand Surfaces?
You can prevent reflections and glare on shiny hand surfaces by using diffuse lighting and applying a matte finish. Diffuse light softens reflections, reducing harsh glare, while a matte finish minimizes shininess. Position lights at angles that avoid direct reflections, and consider diffusing light sources with softboxes or reflectors. These techniques create an even, flattering look, ensuring your demo videos showcase hands clearly without distracting glare.
What Camera Settings Optimize Hand Lighting Clarity and Detail?
You should set your camera with a wide aperture, like f/2.8 or f/4, to create a shallow depth of field that highlights your hands and blurs distracting backgrounds. Use a fast shutter speed, around 1/125 or higher, to freeze motion and reduce glare. Adjust ISO as needed for proper exposure. These settings will maximize clarity and detail, ensuring your hands look sharp and professional on camera.
How Do I Adapt Lighting for Different Hand Skin Tones?
To adapt lighting for different hand skin tones, start with hand color calibration by adjusting your light temperature and intensity to match each skin tone accurately. Use skin tone balancing techniques, like soft fill lights and subtle highlights, to guarantee natural appearance across diverse tones. Regularly monitor your shots, making small tweaks to maintain consistent color accuracy and prevent overexposure or shadows that distort true skin color.
What Are Budget-Friendly Lighting Options for Professional-Looking Hand Demos?
You can achieve professional-looking hand demos with DIY lighting and affordable solutions by using softbox or ring lights from budget brands like Neewer or UBeesize. Position them at a 45-degree angle to minimize shadows and highlight details. Use natural light as a supplement, diffusing it with white sheets or curtains. This setup offers a cost-effective way to create flattering, consistent lighting without breaking the bank.
Conclusion
With the right lighting, your hands become the stars of your demo videos, shining with clarity and professionalism. Think of your setup as a delicate dance—each light step revealing detail and depth. When you master these techniques, you’ll turn simple shots into polished performances that captivate your audience. Remember, good lighting is the brushstroke that transforms a plain canvas into a masterpiece—your hands deserve to be showcased in their best light.