
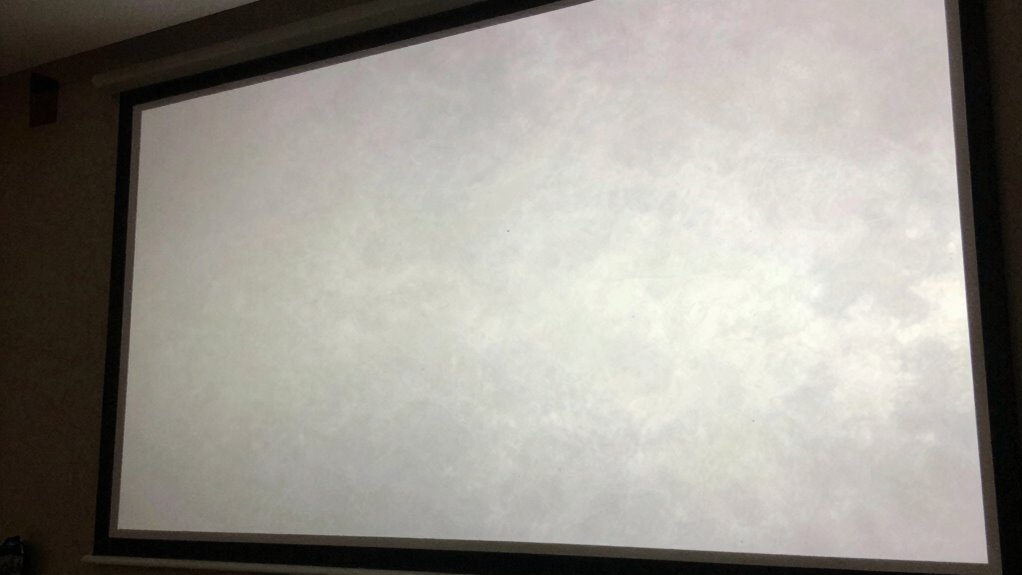
Your projector screen looks washed out mainly because of poor calibration, high ambient light, or unsuitable screen material. Too much ambient light washes out colors and lowers contrast, while improper projector settings or misaligned equipment can dull the image. Dust, dirt, and incorrect screen choices also diminish clarity. To fix this, you need to regulate lighting, adjust projector settings, and make sure your screen is suited for your environment. Keep exploring to discover more tips for vibrant, sharp images.
Key Takeaways
- Excessive ambient light causes glare and reduces contrast, making images appear washed out; controlling room lighting improves clarity.
- Incorrect projector placement and misalignment lead to uneven light distribution and faded images; proper setup and calibration fix this.
- Using inappropriate or dusty screen surfaces affects light reflection, dulling colors and contrast; selecting and cleaning screens enhances vibrancy.
- Low projector brightness, poor contrast settings, or improper calibration diminish image vividness; adjusting these parameters restores clarity.
- Dust buildup on projectors and screens degrades image sharpness; regular cleaning and maintenance prevent washed-out appearances.

DSLRKIT Lens Focus Calibration Tool Alignment Ruler Folding Card(Pack of 2)
This compact ruler allows you to determine if your lens is auto-focusing accurately as it should. It is…
As an affiliate, we earn on qualifying purchases.
As an affiliate, we earn on qualifying purchases.
Why Does My Projector Screen Look Washed Out?
If your projector screen looks washed out, it’s often due to the ambient light in the room washing out the image. To fix this, start with proper color calibration. Adjust your projector’s settings to ensure colors are accurate and vibrant, which helps combat the dull appearance caused by excess light. Additionally, consider the screen’s texture; a matte or textured surface can diffuse light and reduce glare, improving image contrast and color richness. A smooth, high-quality screen surface also minimizes reflections that can wash out the picture. Combining good color calibration with an appropriate screen texture creates a clearer, more vibrant image, making your projector display look sharp and true-to-life despite ambient lighting challenges. Understanding ambient light and its impact on image quality can help you choose the best screen and setup for optimal viewing. Moreover, selecting a screen with high contrast capabilities can significantly improve perceived image depth and color vibrancy under various lighting conditions. Properly managing microplastics in dust and other indoor pollutants can also contribute to maintaining a cleaner environment, reducing dust buildup on screens and projectors for better clarity. Regular cleaning and maintenance of your setup can further enhance overall image quality and longevity.

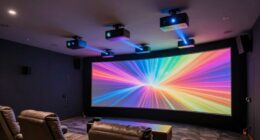
AAJK ALR Projector Screen, 4K Movie Projector Screen 16:9 HD Foldable Anti-Crease Portable Projector, Movies Screen for Home Theater Outdoor Indoor Support (120in Pro)
【Watch What You Want, When You Want!】 Remember when you could only really use your projector at night?…
As an affiliate, we earn on qualifying purchases.
As an affiliate, we earn on qualifying purchases.
Understanding How Brightness and Contrast Impact Your Projector Image
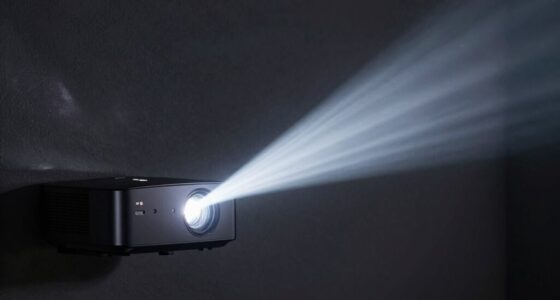
Your projector’s brightness levels directly affect how vivid or washed out your image appears. Contrast makes the details pop and sharpens the overall picture. Adjusting these settings can markedly improve your viewing experience. Additionally, color accuracy plays a crucial role in ensuring that the colors displayed are true to life, further enhancing image quality. Proper calibration of these settings is essential for achieving a balanced picture, which can prevent the image from looking overly dull or overly vibrant. Understanding your projector’s emotional impact can help you optimize settings to create a more engaging viewing environment. Moreover, awareness of sound healing science and how sound frequencies influence perception can deepen your appreciation for immersive media experiences.
Brightness Levels Matter
Brightness and contrast levels play a crucial role in how sharp and vibrant your projected image appears. If the brightness is too low, images look dull and washed out, especially in well-lit rooms. Conversely, excessive brightness can cause glare and reduce detail clarity. Proper color calibration ensures your projector displays accurate, vivid colors without over-brightening the scene. Ambient light impacts how bright your projector needs to be; in bright rooms, higher brightness levels are essential to combat light interference. Adjusting these settings helps you find a balance where images are clear, vibrant, and true to color, regardless of room lighting conditions. Remember, the right brightness level enhances contrast naturally, making your content more engaging and easier to view. Understanding how brightness and contrast impact your projector image is essential for achieving optimal picture quality. Additionally, being aware of projector specifications can help you select the right brightness settings for your environment. Properly setting brightness levels ensures your images remain vivid without sacrificing detail.
Contrast Enhances Image Clarity
Contrast plays an essential role in enhancing your projector’s image clarity by defining the difference between the darkest blacks and brightest whites. When you improve image contrast, you create a more vivid picture with better depth and detail. Higher contrast boosts color saturation, making colors appear richer and more lifelike. This increased contrast helps your eyes distinguish objects and textures more easily, reducing the washed-out look often caused by poor settings. Proper contrast ensures that details don’t blend into the background and that shadows and highlights are distinctly visible. Additionally, understanding the importance of vintage audio/vinyl revival can inspire you to optimize your home entertainment setup for nostalgic viewing experiences. Remember, balancing contrast with brightness is key to achieving excellent clarity and vibrant colors on your projector screen. Adjusting contrast settings appropriately can also prevent screen glare from diminishing image quality, ensuring a more comfortable viewing experience. Recognizing how image processing affects your display can further help in fine-tuning your projector for optimal performance. For instance, some projectors have automatic contrast adjustment features that can make this process easier for users.
Adjusting Settings Improves Quality
Adjusting your projector’s brightness and contrast settings can considerably enhance image quality, making scenes clearer and more vibrant. Proper color calibration ensures the colors appear accurate and balanced, preventing washed-out or overly saturated images. Additionally, screen tension plays a role; a taut, well-installed screen minimizes wrinkles and distortions that can affect how brightness and contrast are perceived. When your settings are optimized, you’ll notice improved detail in dark and bright scenes alike. Increasing contrast boosts the difference between light and dark areas, adding depth, while adjusting brightness prevents images from looking dull or washed out. Overall, fine-tuning these settings, along with maintaining proper screen tension and color calibration, transforms your viewing experience, delivering sharper, more vivid images with better overall clarity.

Screen Cleaner Spray (16oz – 473ml) – Best Large Cleaning Kit for LCD LED OLED TV, Smartphone, iPad, Laptop, Touchscreen, Computer Monitor, Electronic Devices, Microfiber Cloth Wipes and 2 Nozzles
SCREEN CLEANER SPRAY and cloth are designed for the high-end devices and works flawlessly for all electronic screens,…
As an affiliate, we earn on qualifying purchases.
As an affiliate, we earn on qualifying purchases.
How Ambient Lighting Affects Screen Clarity
Ambient lighting plays a crucial role in how clearly you can see your projector screen. Excessive ambient light can cause screen glare, reducing contrast and making images appear washed out. To combat this, control the lighting in your room by dimming lights or using blackout curtains. Bright surroundings diminish the projector’s contrast, ruining detail and vibrancy. Consider the table below to understand how different lighting conditions impact your viewing experience:
| Lighting Condition | Effect on Screen Clarity | Recommended Action |
|---|---|---|
| Bright ambient | Increased glare, washed-out image | Use dim lighting or curtains |
| Moderate ambient | Slight glare, decent clarity | Adjust room lighting accordingly |
| Low ambient | Optimal clarity | Maintain low ambient light levels |
| Direct spotlighting | Severe glare, poor visibility | Remove or redirect light sources |
| Nighttime viewing | Best contrast, vivid colors | Keep room dark for best results |
Additionally, choosing appropriate screen material can enhance contrast and reduce glare, further improving image quality under various lighting conditions. Proper ambient light control is essential to maximize your projector’s performance and ensure vibrant, clear images. Developing good lighting habits can make a significant difference in your viewing experience by minimizing glare and optimizing contrast. One effective method is to be mindful of light placement, which can help prevent stray light from affecting your screen quality.

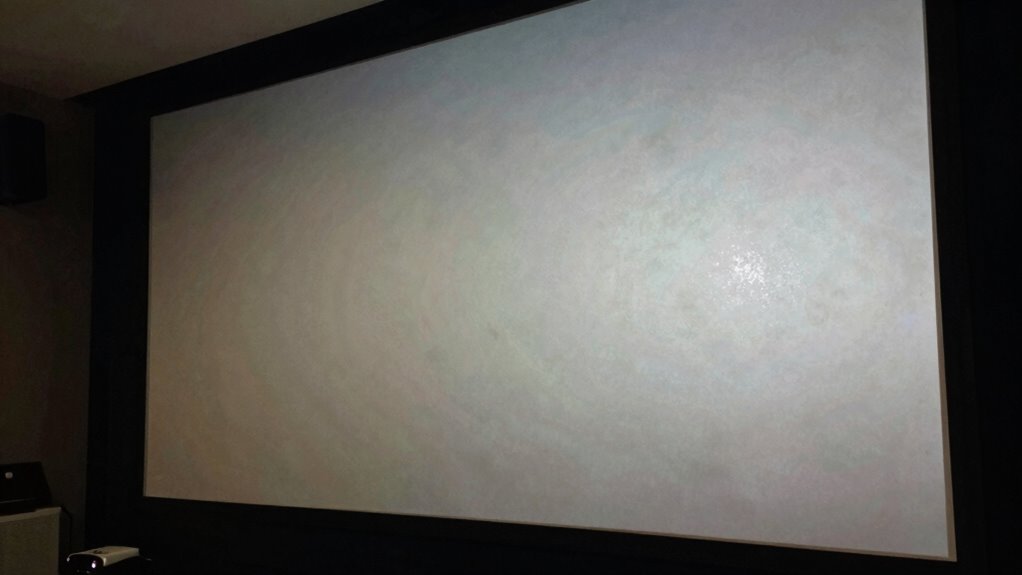
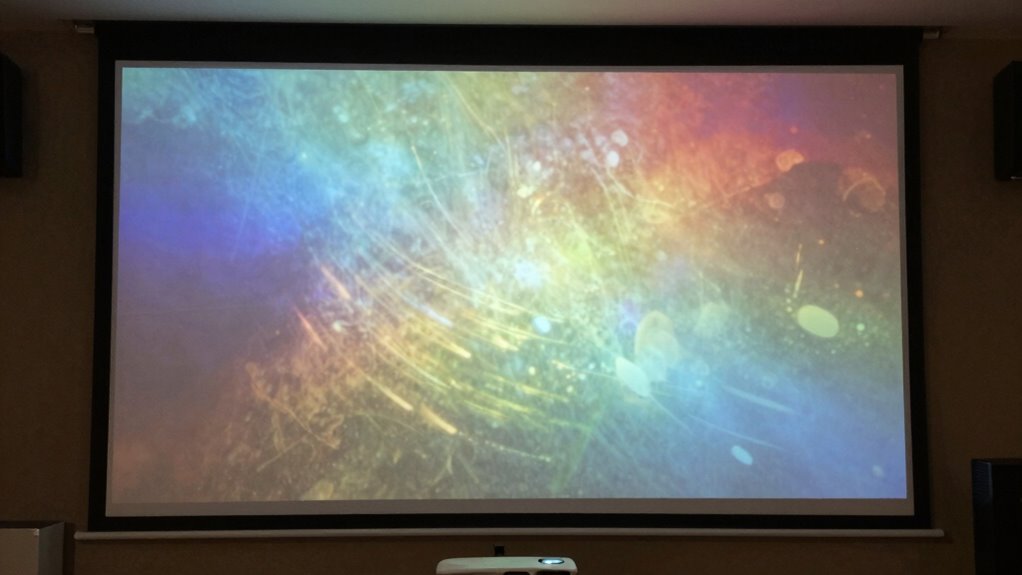
ALR Projector Screen for Standard Throw- Wall Mounted – TGL-100-A High Contrast 70% ALR High Brightness 2.7X Gain – 100 inch 16:9 Gray Screen – by SilverMagic
★【Ambient Light Rejection】 The screen effectively suppresses ambient light (70%), significantly improving image contrast. This makes it suitable…
As an affiliate, we earn on qualifying purchases.
As an affiliate, we earn on qualifying purchases.
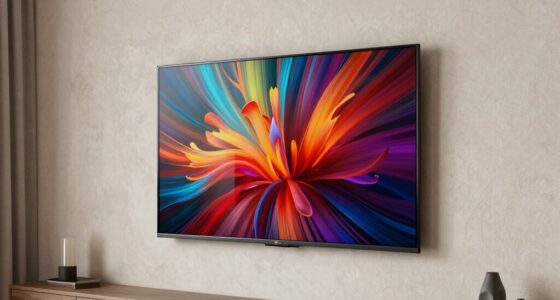
Choosing the Best Screen Material for Vivid Colors
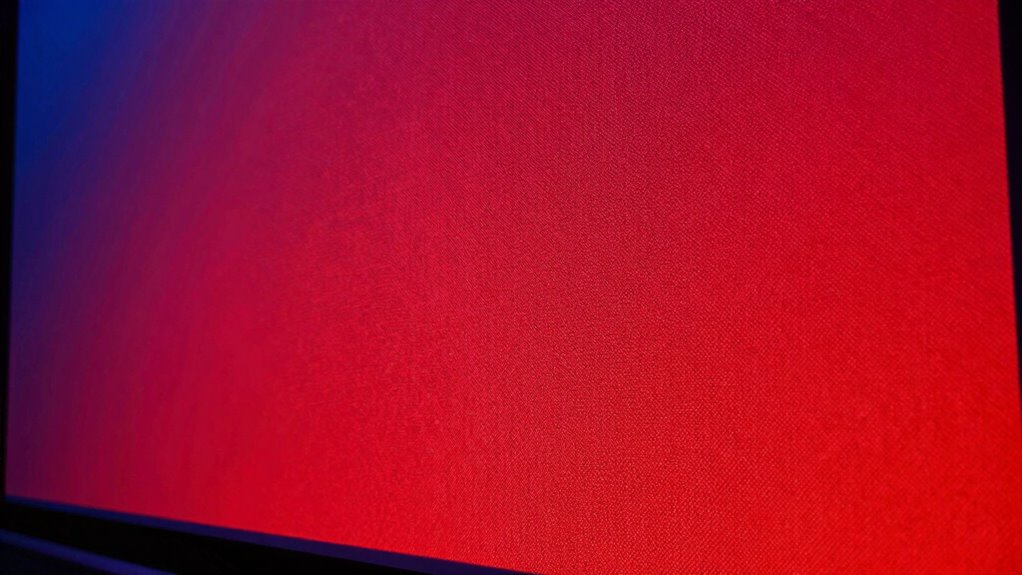
Choosing the right screen material is essential if you want vibrant colors and sharp images from your projector. The type of screen material directly impacts color vibrancy, brightness, and overall picture quality. Matte surfaces may reduce glare but often dull colors, while high-gain materials can boost brightness but sometimes cause hotspots. For vivid colors, look for materials specifically designed to enhance color reproduction, such as those with a smooth, reflective surface that evenly distributes light. Consider your environment and projector capabilities when selecting the material. A good choice will maximize color vibrancy without sacrificing contrast or clarity. Proper screen material selection is crucial to achieving optimal image quality and color accuracy. Remember, the right screen material helps your projector deliver rich, lifelike images, making your viewing experience more immersive and visually stunning. Exploring emerging trends in digital publishing can also inspire innovative ways to present your content and improve viewer engagement.
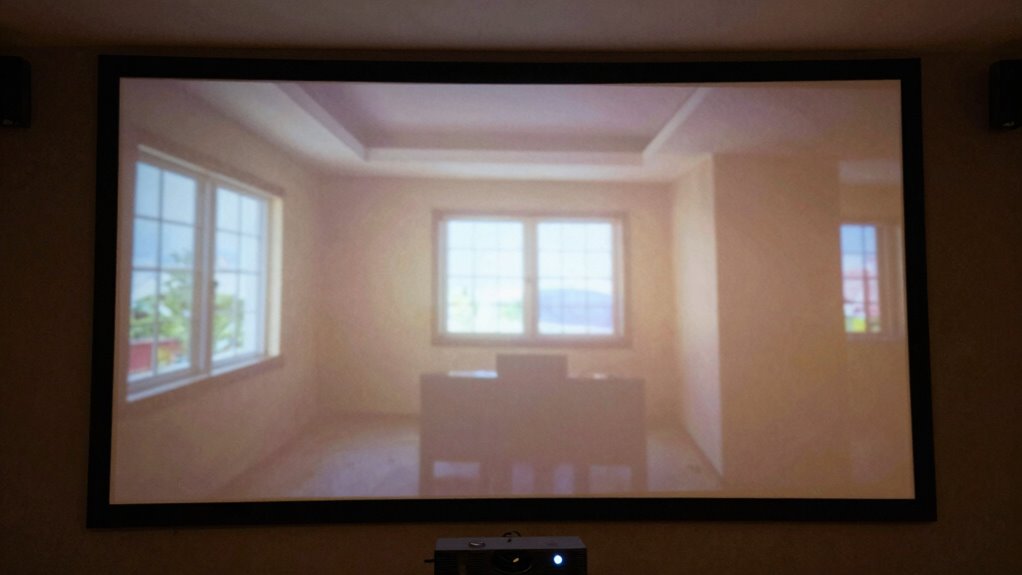
Adjusting Your Projector Settings for Bright, Sharp Images
To achieve bright, sharp images with your projector, fine-tuning the settings is essential. Start with color calibration to ensure the colors are accurate and vibrant. Adjust the brightness and contrast settings to match your screen material and room conditions. Keep ambient light in mind—if your room has a lot of natural or artificial light, increase the projector’s brightness to counteract washed-out images. Use the projector’s image mode or picture presets to enhance sharpness and clarity, but don’t overdo it, as this can introduce noise. Regularly check and adjust these settings to maintain ideal image quality. Remember, a well-calibrated projector that considers ambient light will produce vivid, sharp visuals, minimizing the washed-out effect. Additionally, exploring the best projector screens can significantly improve image brightness and clarity, reducing the likelihood of washed-out visuals.
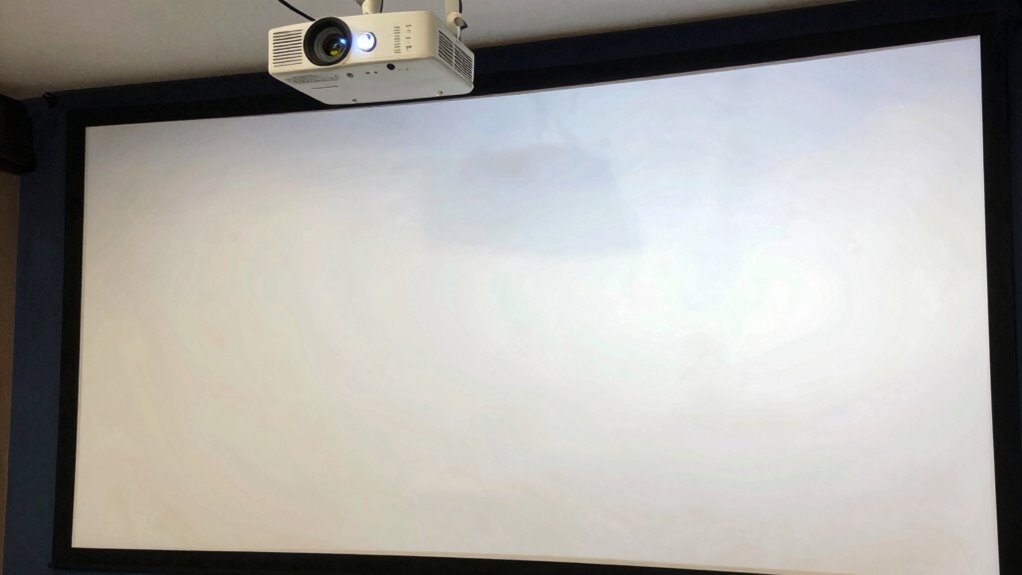
Common Installation Mistakes That Cause Faded Images
One common mistake that leads to faded images is poor projector placement. If you don’t consider your screen material or mounting angle, your picture can look washed out. For example, mounting the projector at the wrong angle causes keystone distortion, reducing image quality. Similarly, using incompatible screen material can reflect light unevenly, dulling the image. Here’s a quick guide:
| Issue | Solution |
|---|---|
| Incorrect mounting angle | Adjust the projector to face directly at the screen |
| Poor screen material | Choose a high-gain, suitable material for your setup |
| Misalignment | Ensure the projector is level with the screen |
Proper placement and understanding your screen material make a big difference in image brightness and clarity.
Tips for Maintaining Your Projector and Screen
Regular maintenance is essential to keep your projector and screen performing at their best. Start with regular screen cleaning to remove dust, fingerprints, and smudges that can dull the image. Use a soft, lint-free cloth and gentle cleaning solutions to avoid damaging the surface. Additionally, calibrate your projector periodically to ensure accurate color, contrast, and brightness levels. Proper projector calibration helps prevent washed-out images and maintains ideal picture quality. Keep vents clean and ensure your projector is placed in a dust-free environment to prevent overheating. Inspect cables and connections regularly, replacing any worn or damaged parts. By staying consistent with screen cleaning and projector calibration, you’ll prolong the life of your equipment and enjoy clearer, more vibrant images every time.
How to Test and Troubleshoot a Faded or Washed-Out Projector Image
To troubleshoot a faded or washed-out image, start by checking your projector’s brightness settings and adjusting them if needed. Next, inspect the lens for dust or smudges that could weaken the image quality. Finally, evaluate the screen’s condition to make certain it’s clean and free of damage that could affect the picture.
Check Brightness Settings
A faded or washed-out projector image often points to incorrect brightness settings. First, adjust your projector’s brightness to verify it’s not set too low. Proper brightness enhances color calibration and improves contrast, especially in rooms with ambient light. To test this, increase the brightness gradually while watching the image’s clarity and vibrancy. Consider the table below for a deeper understanding:
| Aspect | Impact |
|---|---|
| Brightness Level | Too low causes washed-out look; too high may cause glare |
| Ambient Light | Excess ambient light washes out the image; reduce or control it |
| Color Calibration | Correct settings enhance perceived brightness and vividness |
Adjust these settings for a sharper, more vibrant picture.
Inspect Projector Lens
Is your projector image still faded or washed out even after adjusting brightness? It’s time to inspect the projector lens. Start with a thorough lens inspection to check for dirt, smudges, or dust that can distort the image. Carefully examine the lens surface for fingerprints or smudges. Remember, a dirty lens acts like a foggy window dulling your picture. Clean the lens gently with a soft, lint-free cloth, avoiding any abrasive materials. Also, check the filter for dust buildup, as a clogged filter can reduce light output. During inspection, look for any cracks or damage on the lens that might impair clarity. Regular filter cleaning and lens inspection help maintain sharp, vibrant images and prevent washed-out visuals.
Evaluate Screen Condition
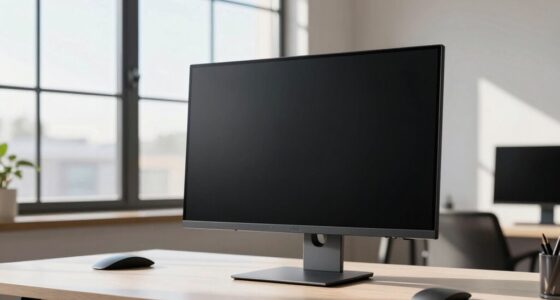
When your projector image appears faded or washed out, testing the screen’s condition is a crucial step in troubleshooting. Start by inspecting the screen’s surface for signs of wear, such as fading colors, stains, or tears, which can indicate reduced screen durability. Consider the material lifespan; if your screen has been in use for years, it might have deteriorated, leading to a dull image. Check for discoloration or warping, which can also diminish image quality. Use a bright light to examine the entire surface closely—any uneven patches or faded spots suggest the need for cleaning or replacement. Evaluating these signs helps determine whether the issue stems from the screen’s condition or other factors, guiding your next steps effectively.
When Should You Upgrade Your Projector or Screen?
Deciding to upgrade your projector or screen becomes necessary when your current setup no longer meets your viewing needs or shows signs of wear. You should consider an upgrade if you notice:
- Dull, washed-out images despite proper projector placement
- Persistent screen material stains or tears
- Reduced contrast or color accuracy
- Inability to achieve brightness levels suitable for your environment
- Frequent adjustments that don’t improve image quality
Sometimes, improving your setup involves choosing better screen material or repositioning your projector for ideal results. If these signs persist after adjustments, it’s time to upgrade. A new projector or screen can enhance brightness, contrast, and clarity, giving you a vibrant, immersive viewing experience.
Expert Tips for Achieving Vibrant, Bright Projector Displays
To get the most vibrant, bright images from your projector, you need to optimize both your equipment and your setup. Focus on achieving superior color accuracy through proper screen calibration, which ensures colors appear true to life. Regularly calibrate your projector using tools or professional services to fine-tune brightness, contrast, and color settings. Proper calibration minimizes washed-out images and enhances overall vibrancy. Additionally, consider your environment: dim ambient light and a darkened room improve brightness perception. Use the following table to understand essential calibration factors:
| Calibration Aspect | Recommended Adjustment |
|---|---|
| Brightness | Match ambient lighting for clarity |
| Contrast | Maximize details without clipping |
| Color Accuracy | Use calibration tools or software |
| Sharpness | Adjust for crisp images |
| Gamma | Set for balanced luminance |
Consistent calibration and environment control are key to vibrant displays.
Frequently Asked Questions
Can Screen Size Affect Image Brightness and Clarity?
Yes, screen size can affect image brightness and clarity. When you increase the screen size, the image spreads over a larger area, reducing brightness and sharpness if your projector’s resolution isn’t high enough. Keep ambient lighting in mind, as brighter rooms make images look washed out on larger screens. To improve clarity, choose a screen resolution suited for your size and control ambient lighting for ideal viewing.
What Role Does Projector Placement Play in Image Quality?
Think of your projector placement as setting the stage for a performance. Proper alignment guarantees the image hits the screen directly, maximizing brightness and clarity. If you place it too far or at odd angles, the image dims or distorts, like a shadow hiding the spotlight. Keep the projector aligned and avoid ambient lighting interference to let your image shine bright and true, transforming your space into a mesmerizing theater.
How Do Different Projector Lamp Types Influence Screen Appearance?
Different projector lamp types substantially impact your screen’s appearance through lamp efficiency and color temperature. A lamp with higher efficiency produces brighter images, reducing washed-out effects. Meanwhile, lamps with a higher color temperature emit cooler, bluer light, which can make colors appear more vivid. Choosing a lamp with ideal efficiency and appropriate color temperature enhances image quality, ensuring your screen looks vibrant and clear rather than washed out.
Are There Specific Room Colors That Impact Projected Image Vibrancy?
Yes, room colors like wall paint can impact your projected image’s vibrancy. Light-colored walls reflect more light, making images look washed out, while darker shades absorb excess light, enhancing contrast and color richness. Ambient lighting also plays a role; bright lights can diminish image vibrancy, so dimming or controlling ambient light improves projection quality. Keep walls neutral or dark, and manage ambient lighting for the best picture.
How Often Should I Calibrate My Projector for Optimal Images?
You should calibrate your projector every 3 to 6 months to maintain ideal image quality. Regular calibration ensures your projector stays aligned with your room’s lighting conditions and screen type, preventing washed-out images. Consistent calibration allows for better image optimization, preserving vibrant colors and sharp details. If you notice your images look dull or washed out, it’s time for a quick calibration to restore the best possible picture quality.
Conclusion
To keep your projector images vibrant, think of your setup as a recipe—small tweaks can make a big difference. Regularly adjust your settings, choose the right screen material, and control ambient lighting like a skilled chef balancing flavors. With a little effort, your display will shine brighter than a lighthouse, drawing everyone’s attention and making your viewing experience truly spectacular. Keep experimenting, and enjoy the vivid visuals you deserve.