
In screen printing, exposure is the most critical step because it directly impacts your image clarity, sharpness, and vibrancy. Proper exposure ensures your stencil transfers accurately and with crisp detail, while incorrect timing can cause fading or detail loss. Using the right materials and equipment, like sensitive emulsion and consistent light sources, helps achieve ideal results. Keep practicing and adjusting, and you’ll discover how mastering this step shapes your professional prints.
Key Takeaways
- Proper exposure ensures accurate image transfer, sharpness, and vibrant prints, making it a crucial step in screen printing.
- Selecting the right emulsion, light source, and precise timing are essential for achieving optimal exposure results.
- Conducting test exposures and using exposure charts help determine the correct duration for different materials.
- Overexposure or underexposure can cause poor stencil quality, detail loss, or faded images, so proper calibration is vital.
- Consistent techniques, workspace control, and regular testing ensure professional, high-quality screen printing outcomes.

Caydo 60W LED Exposure Unit for Screen Printing, UV Screen Printing Light with Retractable and Adjustable Stand for Screen Printin, Cyanotypes and Resin
【50W UV Exposure】The light wavelength of the UV exposure lamp is 395nm. The size of 5.11inch x 9.25inch…
As an affiliate, we earn on qualifying purchases.
As an affiliate, we earn on qualifying purchases.
Why Exposure Is the Most Critical Step in Screen Printing
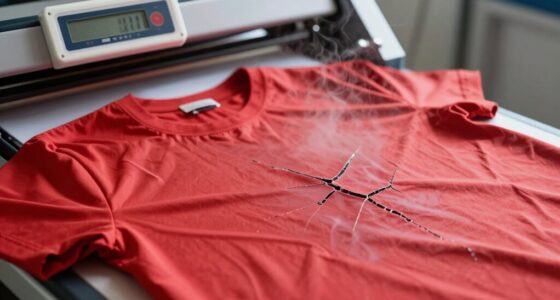
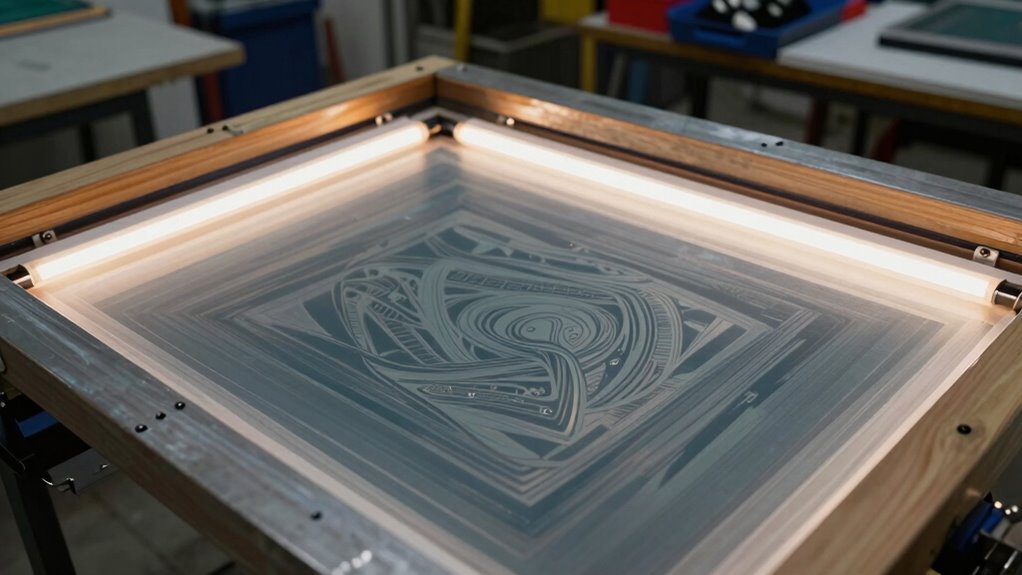
Have you ever wondered why proper exposure is vital in screen printing? It’s because this step directly impacts your final print quality. Proper exposure ensures the emulsion’s sensitivity is correctly matched to your mesh tension, allowing the emulsion to harden precisely where needed. If your mesh tension is too loose or too tight, it can affect how light passes through the screen, altering emulsion sensitivity and causing inconsistent images. Too little exposure leaves your design faint or incomplete, while overexposure makes details bleed or fade. Achieving the right balance guarantees sharp, clean stencils and vibrant prints. Additionally, understanding the relationship between digital concepts and physical processes can help optimize your exposure settings for better consistency. Recognizing contrast ratio effects can also assist in fine-tuning the exposure for sharper, more detailed images. Furthermore, adjusting exposure based on emulsion sensitivity can significantly improve your overall print quality and reduce waste. Paying attention to exposure time and how it interacts with these factors is essential for consistent results. For example, incorporating light source consistency can help ensure uniform exposure across the entire screen, preventing uneven detail reproduction.

Ecotex® Beginner Screen Printing Emulsion (8 oz.) – Pre-Sensitized Ready to Use Photo Emulsion for Silk Screens and Fabric – for Plastisol Ink and Water Based Ink, Screen Printing Supplies
Beginner Emulsion – This emulsion is literally made to work with all screen printing inks. Newly developed for…
As an affiliate, we earn on qualifying purchases.
As an affiliate, we earn on qualifying purchases.
What Materials and Equipment You Need for Proper Exposure
To achieve proper exposure in screen printing, you need the right materials and equipment that work together seamlessly. Start with an emulsion with appropriate sensitivity—faster emulsions require less exposure time, while slower ones need more. Your light source selection is vital; a consistent, UV-based light like a metal halide or LED exposure unit ensures even exposure. Visualize the setup:
| Material/Equipment | Purpose | Key Feature |
|---|---|---|
| Emulsion | Sensitive layer | Emulsion sensitivity |
| Light Source | Exposing film | Light spectrum consistency |
| Exposure Timer | Controls exposure time | Precision and consistency |
These components guarantee your screen is correctly exposed, resulting in sharp, clean stencils. Proper material choice and equipment calibration are essential for professional results. Additionally, understanding exposure parameters is crucial for achieving consistent and high-quality prints. Incorporating local automation techniques can further enhance the precision of your exposure process, ensuring uniform results across multiple screens. Regularly testing and adjusting your setup based on exposure testing can help optimize your process for different materials and conditions. Paying close attention to light intensity and maintaining consistent distances will also improve overall exposure accuracy. Moreover, maintaining proper equipment calibration ensures your exposure results remain reliable over time.
Caydo 60W LED Exposure Unit for Screen Printing, UV Screen Printing Light with Retractable and Adjustable Stand for Screen Printin, Cyanotypes and Resin
【50W UV Exposure】The light wavelength of the UV exposure lamp is 395nm. The size of 5.11inch x 9.25inch…
As an affiliate, we earn on qualifying purchases.
As an affiliate, we earn on qualifying purchases.
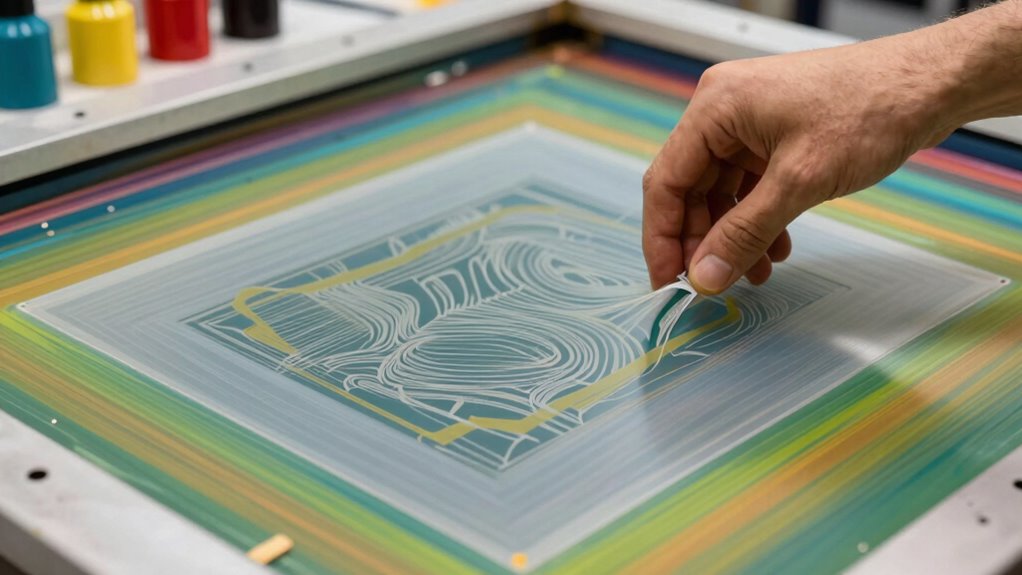
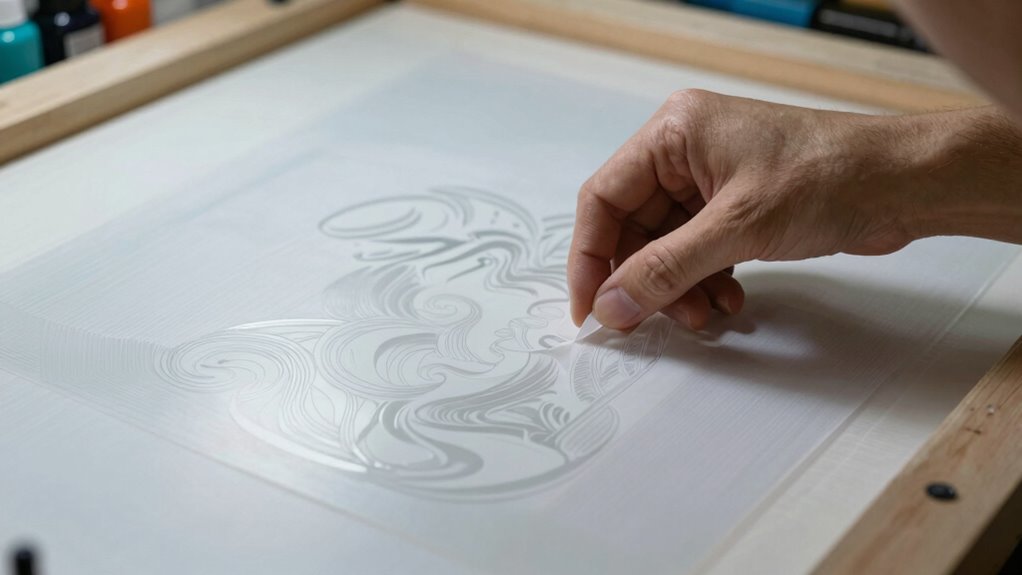
Preparing Your Artwork and Screen for Exposure
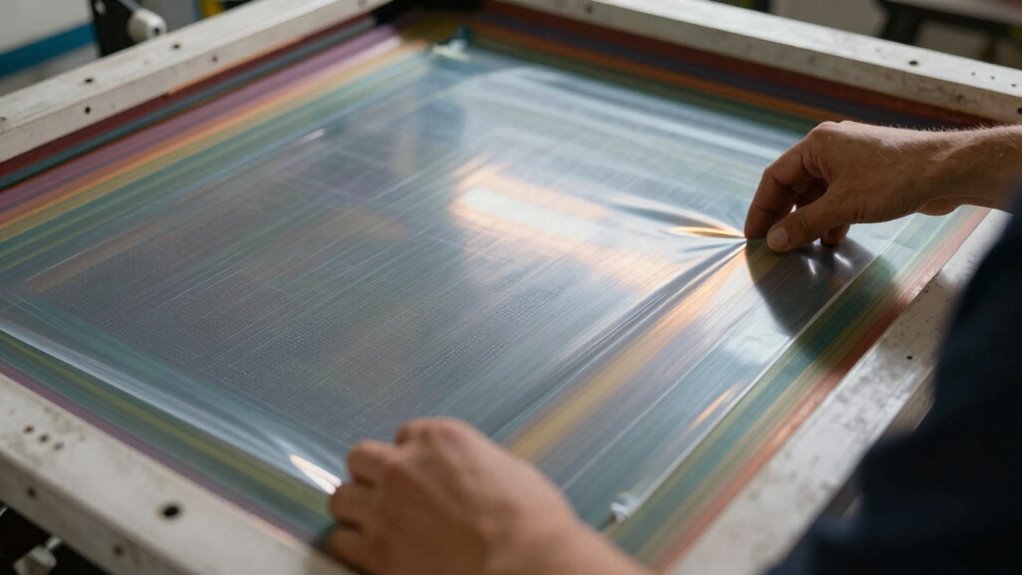
Before exposing your screen, you need to carefully prepare your artwork and screen to guarantee a clean transfer. Start by ensuring your artwork has accurate color matching to match your design’s intended look. Use high-resolution files and double-check that all details are clear. When selecting ink formulation, choose inks compatible with your mesh and substrate, and confirm their opacity and drying properties. Properly position your artwork on the transparency, making sure it’s aligned and free of wrinkles or bubbles. On the screen, ensure it’s clean and free of dust or oils that could affect exposure. Securing your artwork firmly to the screen prevents shifting during exposure, ensuring sharp, precise results. Proper preparation at this stage sets the foundation for a successful screen print.

Caydo 100W LED Exposure Unit for Screen Printing, UV Screen Printing Light with Adjustable Stand and Timing Device for Screen Printing, Resin Curing and Cyanotypes
100W UV Exposure: Operating at AC100-120V with a 395nm wavelength. Compared with traditional screen printing exposure lamps, it…
As an affiliate, we earn on qualifying purchases.
As an affiliate, we earn on qualifying purchases.
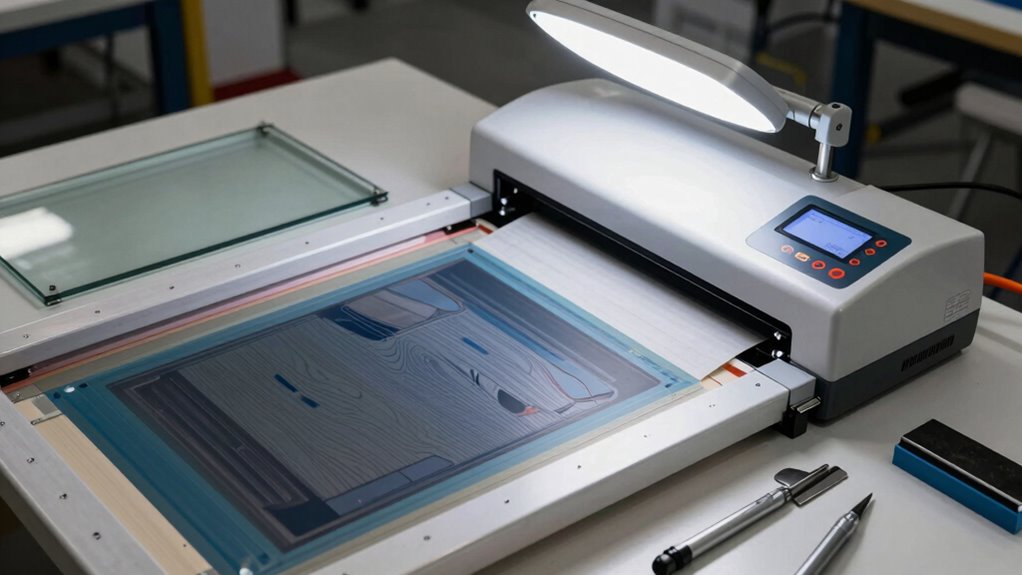
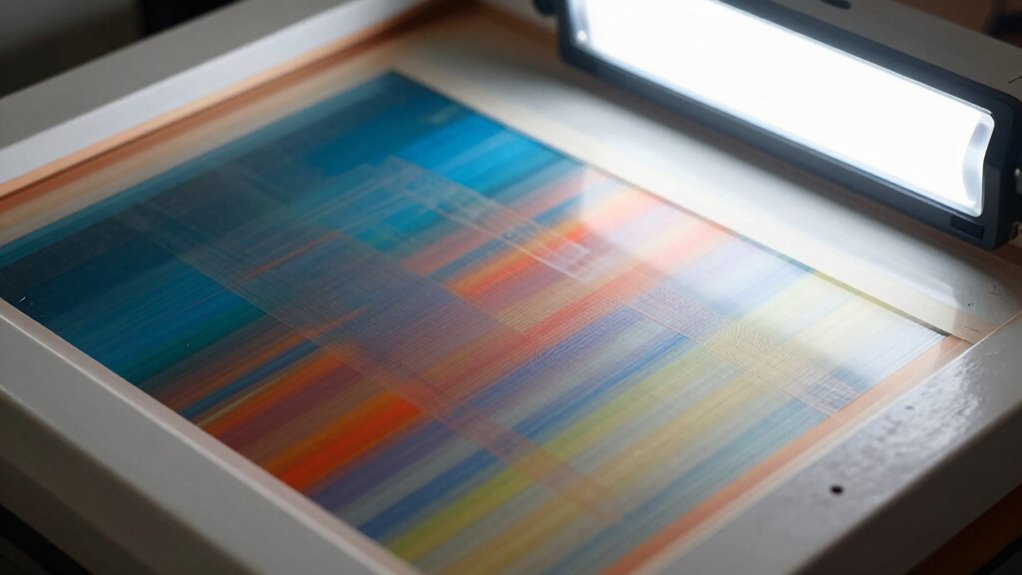
How to Find the Correct Exposure Time for Your Films and Screens
To find the right exposure time, you first need to assess your material’s sensitivity to light. Then, run test exposures to see how long it takes for your image to develop properly. This approach helps guarantee your screens are accurately exposed for consistent, high-quality results. Using a passive voice detector can help identify and correct passive constructions in your process documentation. Additionally, understanding material sensitivity ensures you tailor your exposure times effectively to achieve optimal results. Regular testing and adjusting based on exposure guidelines can further refine your process and improve overall print quality. Monitoring exposure consistency over multiple tests can also help maintain reliable results throughout your production.
Assess Material Sensitivity
Determining the right exposure time for your films and screens is essential to achieve sharp, durable images. To assess material sensitivity, you need to take into account how different emulsion types respond to light and ink compatibility. Here’s how to proceed: 1. Test different emulsion types to see which offers the best resolution and durability for your ink. 2. Adjust exposure times incrementally to find the point where the emulsion fully hardens without overexposing. 3. Use a consistent light source to compare results accurately. 4. Record your findings to refine your process and ensure your screen’s sensitivity matches your printing needs. Additionally, understanding the material sensitivity helps you tailor the exposure to prevent issues like under- or overexposure, leading to more precise results.
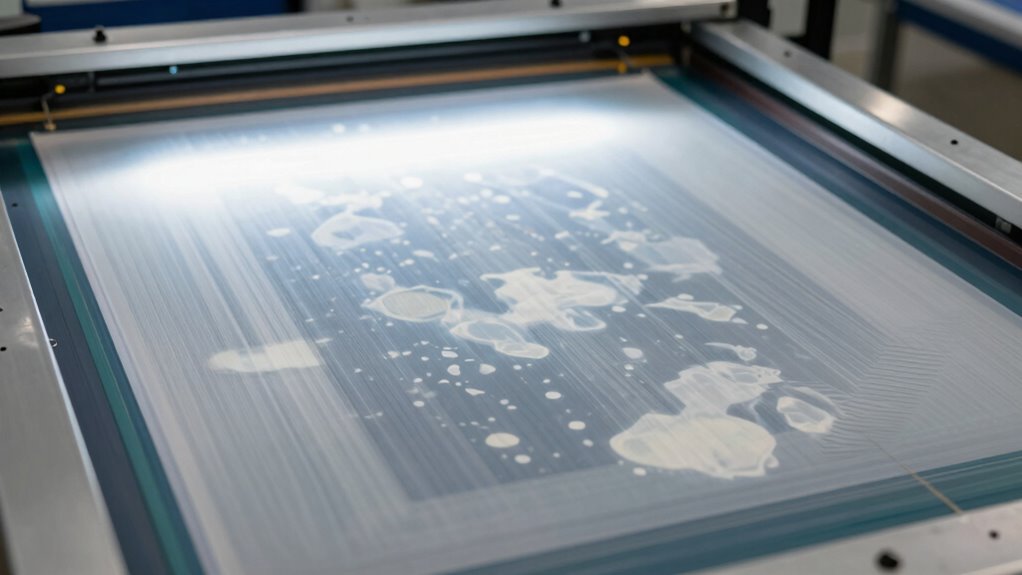
Conduct Test Exposures
Once you’ve identified the appropriate emulsion type and adjusted your exposure time during testing, it’s time to conduct actual test exposures to pinpoint the ideal setting. Start by exposing small sections of your screen with test patterns designed to reveal fine details and contrast. Use exposure charts to guide your initial timing, but remember that slight adjustments may be necessary. After exposing your test patterns, develop the screen and inspect the results carefully. Look for crisp, clear images with minimal halos or loss of detail. Keep detailed records of each test, noting exposure times and pattern results. This process helps you fine-tune your exposure settings, ensuring consistent quality across all prints. Additionally, understanding the exposure process can help you troubleshoot issues quickly and improve your results. Proper filtration and maintenance, such as using effective filters, can also contribute to achieving optimal exposure outcomes. Conducting thorough test exposures is essential to achieving sharp, durable images in your final screen print. Moreover, maintaining consistent lighting conditions during testing ensures more reliable and repeatable results. Regularly reviewing and adjusting your exposure techniques based on test results can further enhance your printing consistency.
Common Mistakes in Screen Printing Exposure and How to Avoid Them
One common mistake in screen printing exposure is overexposing or underexposing your emulsion, which can lead to poor stencil quality. Incorrect exposure times can cause incomplete image transfer or loss of detail. To avoid this, focus on maintaining consistent ink consistency and adjusting exposure times carefully. Additionally, understanding the essential DIY tools needed for accurate exposure can make a significant difference in achieving perfect results. Incorporating smart technology such as exposure calculators or digital timers can further enhance precise control and consistency in your process.
Troubleshooting Exposure Problems for Crisp, Vibrant Prints
When your prints lack sharpness or vibrancy, improper screen exposure might be the culprit. Ensuring you follow proper exposure techniques can make a big difference in the quality of your results. By recognizing common mistakes and adjusting your process, you’ll achieve crisper, more vibrant prints every time.
Proper Screen Exposure Techniques
Proper screen exposure is essential for achieving crisp, vibrant prints, and troubleshooting exposure issues begins with understanding the key factors that affect image clarity. Your emulsion selection directly impacts exposure time and detail, so choose one suited for your design’s complexity. Light source types, such as UV bulbs or metal halide lamps, influence how evenly and quickly your screen develops. To optimize your process, consider these factors:
- Use a consistent, high-quality light source for even exposure.
- Select an emulsion compatible with your light source type.
- Adjust exposure times based on emulsion and light intensity.
- Ensure your workspace is free of ambient light interference during exposure.
Mastering these elements helps prevent under- or overexposure, ensuring sharp, vibrant results.
Common Exposure Mistakes
Common exposure mistakes often lead to blurry or faint images, ruining the overall print quality. One common error is neglecting ink consistency; uneven ink can cause inconsistent exposure results. Another mistake is incorrect mesh tension—if the mesh is too loose or too tight, it affects light transmission, leading to underexposed or overexposed screens. Additionally, improper exposure time can cause dull images or lost details. To avoid these pitfalls, pay close attention to your materials and process. Here’s a quick overview:
| Issue | Cause | Solution |
|---|---|---|
| Blurry images | Low mesh tension | Adjust mesh tension properly |
| Faint images | Inconsistent ink | Mix ink thoroughly |
| Overexposure | Excessive exposure time | Reduce exposure time |
| Underexposure | Insufficient exposure | Increase exposure time |
Mastering these details ensures vibrant, crisp prints every time.
Tips for Consistent, Professional Screen Printing Results

Achieving consistent, professional results in screen printing hinges on attention to detail and proper technique. To do this, focus on maintaining ink consistency and screen tension. Here are four tips to help you succeed:
- Regularly stir your ink to ensure uniform ink consistency, preventing color shifts or uneven prints.
- Keep your screen tension tight and even to produce sharp, consistent images.
- Use a calibrated squeegee to apply even pressure, avoiding streaks or blotches.
- Maintain a clean workspace, removing excess ink and debris that can interfere with clarity and adhesion.
Frequently Asked Questions
How Does Ambient Light Affect the Exposure Process?
Ambient light can negatively impact your exposure process by causing light contamination, which reduces the UV sensitivity of your emulsion. When exposed to unintended light, especially UV rays, the emulsion may partially harden, leading to poor stencil definition. To prevent this, work in a dark or subdued environment, minimize exposure to ambient light, and use proper safelights. This guarantees your emulsion’s UV sensitivity remains intact for a clean, precise screen image.
Can Different Emulsion Types Require Unique Exposure Times?
Think of emulsion types like different recipes; each needs specific ingredients and cooking times for perfect results. Yes, different emulsion types require unique exposure times because of their emulsion compatibility. You must perform thorough exposure calibration to find the right balance, just like adjusting the oven temperature for each dish. Skipping this step can lead to ruined prints, so always test and adjust based on your emulsion’s specifications.
Is It Necessary to Use a Vacuum Frame for Exposure?
You don’t necessarily need a vacuum frame for exposure, but it can improve results by eliminating ambient light and ensuring even contact between the screen and transparency. A vacuum frame minimizes light leaks and helps achieve sharper details, especially with intricate designs. If you don’t have a vacuum frame, make sure to work in a dark environment and use a tight seal to prevent ambient light from affecting your emulsion during exposure.
How Does Screen Thickness Influence Exposure Duration?
Imagine your screen as a thick fortress wall—more thickness demands a heroic amount of exposure time to let the light conquer it. When screen thickness increases, you’ll need to extend the exposure time considerably to guarantee the emulsion fully hardens through the layers. Conversely, a thinner screen requires less exposure. So, always match your screen thickness with the right exposure time to achieve perfect detail and sharpness in your print.
What Safety Precautions Should I Take During Exposure?
You should wear safety gear like gloves and eye protection to shield yourself from UV exposure. Make sure your workspace is light-proof to prevent accidental exposure that could affect the screen or your safety. Always handle UV light sources carefully, following manufacturer instructions. Keep your workspace organized and free of unnecessary materials, and work in a well-ventilated area to guarantee safety during the exposure process.
Conclusion
Remember, exposure is the heartbeat of your screen printing journey—it’s the magic that turns your design into a vibrant masterpiece. Think of it as tuning a fine instrument; too little or too much dulls the melody. Master this step, and you’ll reveal a world where every print sings with crisp clarity and bold color. Keep experimenting, stay patient, and soon you’ll craft prints that glow with professional brilliance, turning your workspace into a gallery of your own vibrant creations.