
To photograph art effectively for insurance, use a good camera with manual controls, a tripod, and natural or soft artificial lighting to minimize glare and shadows. Keep backgrounds neutral and clutter-free, capture multiple angles, detailed close-ups, and provenance documents clearly. Organize and label your images with consistent naming and store them digitally with detailed metadata. If you want to guarantee your documentation is thorough and accepted, you’ll find helpful tips to maximize clarity as you continue.
Key Takeaways
- Use a high-quality camera with manual controls, tripod, and remote shutter to ensure sharp, steady, and accurate images.
- Optimize lighting with natural or diffused artificial sources, avoiding glare, reflections, and harsh shadows.
- Capture multiple angles, close-ups of details, signatures, and textures for comprehensive documentation.
- Choose neutral, clutter-free backgrounds and ensure camera is level to prevent distortion and focus attention on the artwork.
- Organize and archive images with clear labels, consistent naming, and backups to facilitate easy retrieval and support claims.

4K Digital Camera for Photography with WiFi 64MP Auto-Focus Vlogging Camera for YouTube Video 3'' 180° Flip Screen 4K Cameras 16X Zoom Anti-Shake Compact Point and Shoot Cameras with SD Card
Upgraded 4K Ultra HD Digital Camera with WiFi Transfer:This digital camera features 4K video resolution to help you…
As an affiliate, we earn on qualifying purchases.
As an affiliate, we earn on qualifying purchases.
Why Clear Photos Are Essential for Your Art Insurance Claim

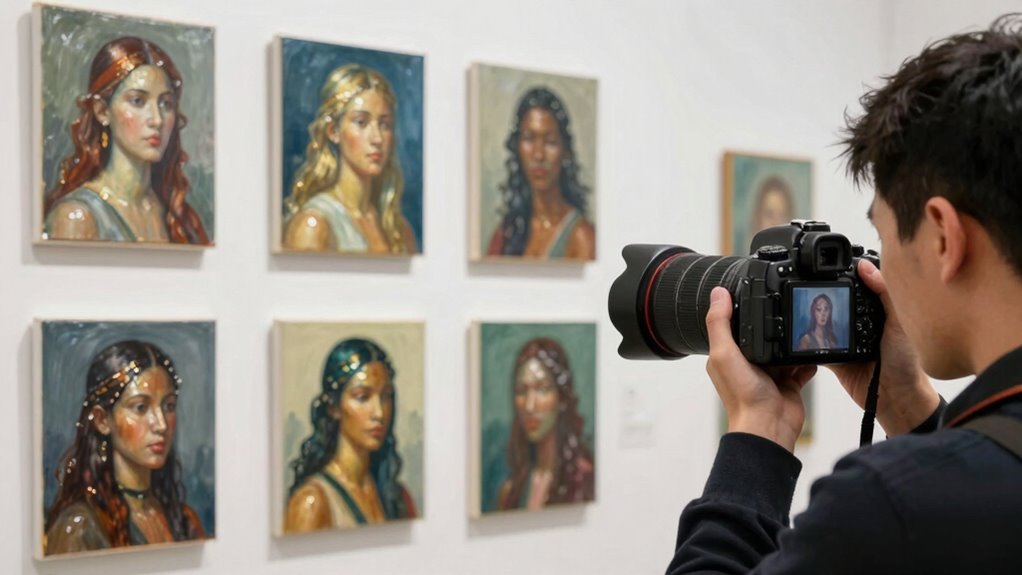
Clear photos are essential when filing an art insurance claim because they serve as the primary evidence of your artwork’s condition and value. High-quality images help verify the current state of your piece, which is vital in case of damage or loss. Proper lighting, like gallery lighting, minimizes shadows and highlights details, making your photos more accurate and professional. This content quality ensures that your images are clear, detailed, and trustworthy for insurance purposes. This aids in art conservation efforts by providing a true representation of your artwork’s surface, texture, and colors. Clear images also prevent disputes over condition or authenticity, streamlining the claims process. When your photos accurately reflect your art, insurers can assess the claim efficiently, reducing delays. Additionally, understanding color accuracy ensures that colors are represented faithfully, which is crucial for valuation and authenticity. Maintaining proper documentation with high-quality photos can also help you establish provenance and ownership details. Proper photo composition enhances the overall clarity and helps highlight important features of your artwork. In fact, paying attention to lighting techniques can significantly improve the quality of your photographs. In short, sharp, well-lit photos protect your investment and support a smooth, successful insurance claim.

Amazon Basics 50-inch Lightweight Portable Camera Tripod Stand with Quick-Release Plate, Adjustable Height, Aluminum, for Travel Photography, Champagne
Camera mount tripod stand with zippered storage bag
As an affiliate, we earn on qualifying purchases.
As an affiliate, we earn on qualifying purchases.
Gather the Right Equipment for Accurate Artwork Photos

To capture high-quality images of your artwork, you need the right equipment. Start with a good camera, preferably one with manual controls. Use essential camera accessories like a tripod for stability, a remote shutter release to prevent blur, and a polarizing filter to lessen glare. After shooting, editing software helps fine-tune colors and details for accuracy. Here’s a quick overview:
| Equipment | Purpose |
|---|---|
| Tripod | Keeps camera steady for sharp images |
| Remote shutter | Eliminates shake during exposure |
| Polarizing filter | Reduces reflections and glare |
Having these tools ensures your photos are precise, professional, and ready for insurance documentation. Additionally, understanding lighting techniques can significantly improve the quality of your artwork photographs. Proper storage and backup solutions also protect your captured images from loss, ensuring your work remains safe over time. Being aware of regional art styles can guide you in capturing works that highlight their unique characteristics more effectively.

K&F CONCEPT 58mm Circular Polarizer Filter Ultra-Slim 18 Multi-Coated Optical Glass Circular Polarizing Filter for Camera Lenses with Cleaning Cloth (K Series)
Enhance Color & Contrast: CPL filter can enhance the color and contrast, and remove non-metallic reflections such as…
As an affiliate, we earn on qualifying purchases.
As an affiliate, we earn on qualifying purchases.
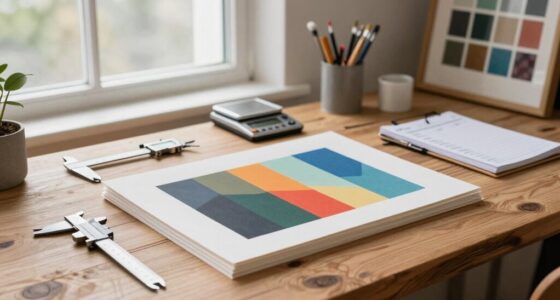
Set Up Your Space: Lighting, Backgrounds, and Environment Tips
To get the best photos of your artwork, start by optimizing your lighting—natural light or soft, even artificial lighting works best. Choose a clear, neutral background that won’t distract from the piece’s details and colors. Keep your environment simple and clutter-free to guarantee your artwork remains the focus. Additionally, ensure your camera is steady and level to avoid distortion or blurry images, similar to how mount leveling kits help achieve a precise setup. For those using electric bikes or other equipment, understanding horsepower can help you choose the right model for your needs. Also, consider inspecting your workspace for portable safety measures to prevent accidents during setup. Proper lighting techniques can make a significant difference in capturing accurate colors and textures of your artwork. Ensuring your camera stability with tripods or stabilizers can further improve image quality.
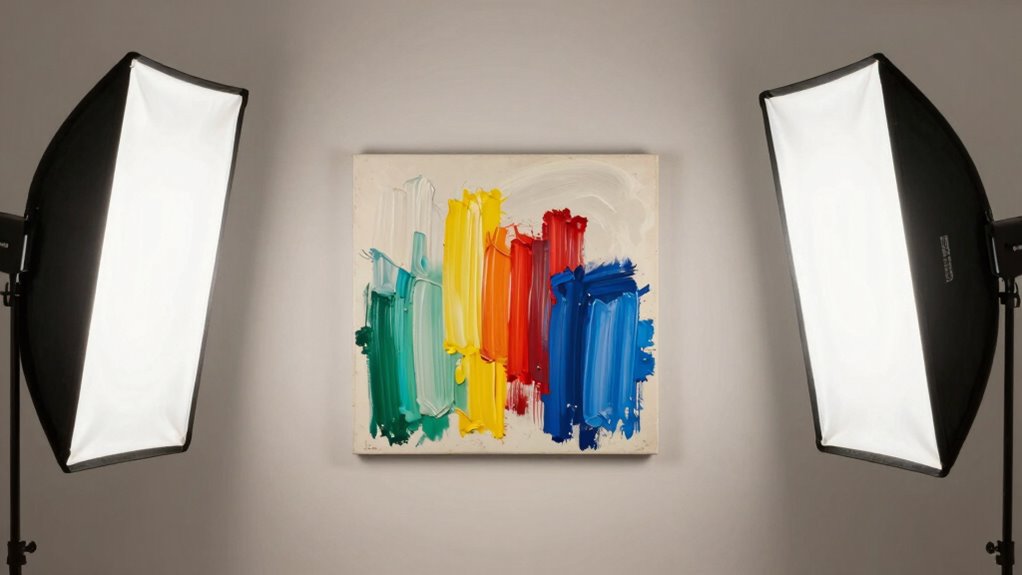
Optimize Lighting Conditions
Proper lighting is essential for capturing accurate and detailed images of your artwork. To optimize lighting conditions, consider these tips:
- Use natural light whenever possible, shooting near large windows during the day to avoid harsh shadows.
- Supplement with artificial lighting if natural light isn’t available, using soft, evenly distributed sources to prevent glare and uneven shadows.
- Avoid direct sunlight or overly bright lights that can distort colors or create reflections. Instead, aim for diffused lighting that evenly illuminates your art.
- Consider using professional-grade lighting equipment to achieve consistent, high-quality illumination that accurately represents your artwork’s details and colors.
- Additionally, ensuring your lighting setup is adjustable can help you fine-tune the light angles and intensity for the best results.
- Properly calibrated lighting not only enhances the visibility of your artwork but also helps preserve the true color accuracy in your photographs.
Remember, consistent, well-balanced lighting ensures your photos accurately represent your artwork’s details and colors, reducing the risk of claims being denied due to poor image quality.
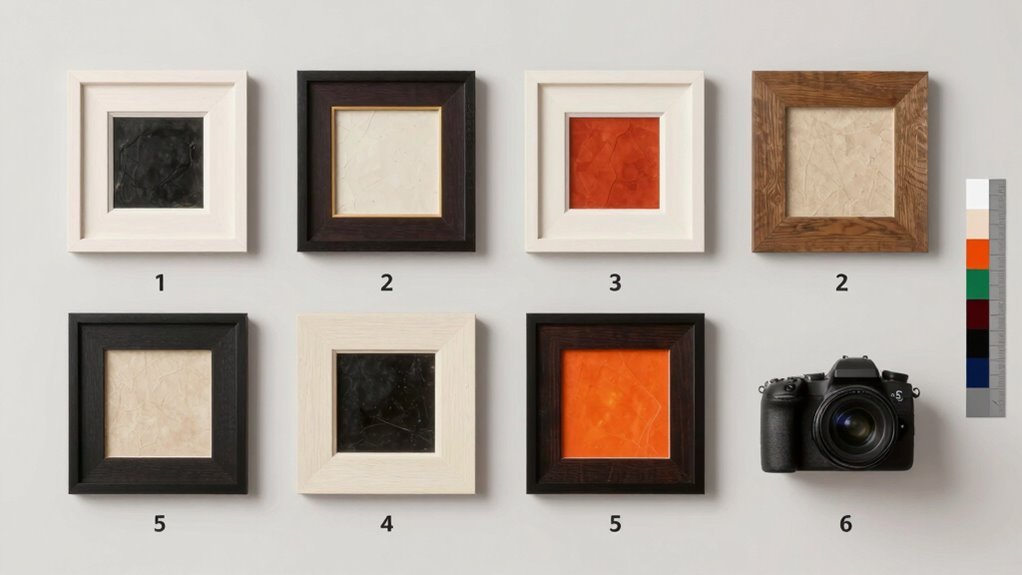
Choose Clear, Neutral Background
When photographing your artwork for insurance, choosing a clear, neutral background is essential to highlight the piece without distractions. A plain backdrop, such as white, gray, or beige, helps maintain focus on the artwork and enhances its artistic composition. This neutral setting minimizes color interference, ensuring better color accuracy in the photos. Avoid busy patterns or vibrant colors that can distract or distort the viewer’s perception of the piece. Properly setting up a simple background allows the artwork’s details, textures, and true colors to stand out clearly. Consistency in background choice across all photos also makes it easier to compare images and provides a professional, clean presentation for insurance documentation. Additionally, using a free floating setup can help keep the artwork stable and evenly lit during photography, and lighting quality plays a crucial role in capturing accurate images. Paying attention to background selection helps ensure your photos meet insurance standards and accurately represent your artwork.

Kiwifotos RS-60E3 Remote Switch Shutter Release Cord for Canon EOS Rebel T6 T7 T5 EOS R50V R6 Mark III II R6 R7 R8 R10 R100 RP T8i T7i T6s T6i T5i T4i SL3 SL2 90D 80D 70D 77D M5 M6 Mark II SX70 & More
Control autofocus and shutter triggering, Capture images without shaking camera
As an affiliate, we earn on qualifying purchases.
As an affiliate, we earn on qualifying purchases.
How to Photograph Artwork From Multiple Angles and Details
To accurately document your artwork, you need to photograph it from multiple angles, showing its full form and structure. Make sure to capture close-ups of fine details that might be be vital for insurance purposes. These perspectives help create a thorough record that highlights both the overall piece and its unique features. Additionally, using proper lighting and a steady camera setup can help ensure the images are clear and detailed, which is essential for an accurate visual record. Being aware of ethical considerations during documentation can also help ensure the process remains transparent and trustworthy. Incorporating inclusive casting principles by accurately representing diverse artworks can further promote authenticity and fairness in your documentation process.
Capture Multiple Perspectives
Capturing multiple perspectives of artwork guarantees you document every important detail and angle, which is essential for accurate insurance records. This approach helps verify the art’s condition and unique features. To do this effectively:
- Use different angles to showcase the art style and overall framing techniques, highlighting how the piece is displayed.
- Take close-ups of textures, signatures, or any distinctive marks that add value or identify the work.
- Vary your vantage points—shoot from eye level, overhead, or low angles—to capture depth and dimension.
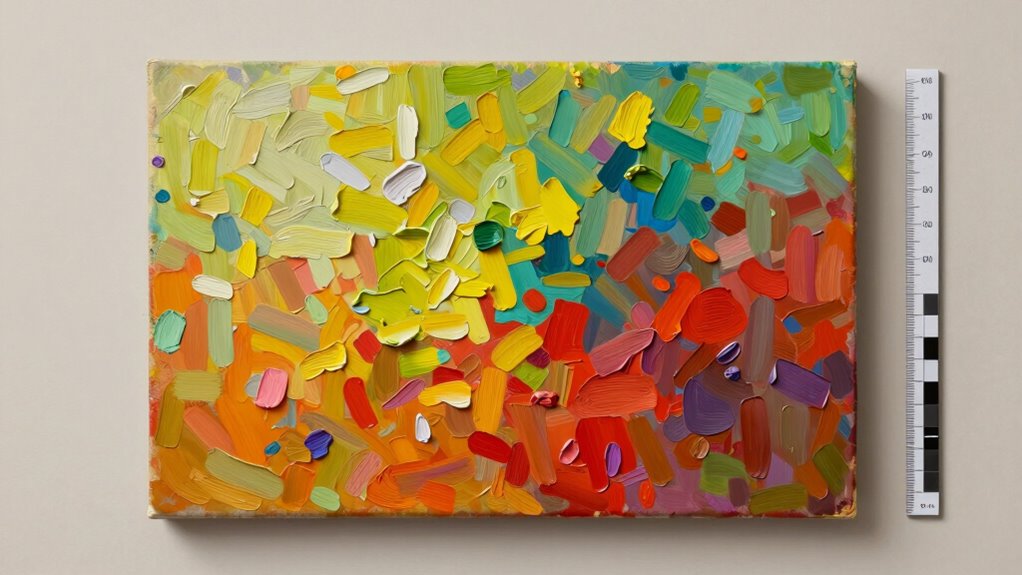
Highlight Fine Details
Highlighting fine details is essential to creating a meticulous record of the artwork’s unique features. Use artistic lighting to emphasize textures, brushstrokes, and subtle variations that make the piece distinctive. Adjust your lighting angles to avoid glare and shadows, ensuring every detail is visible. Incorporate framing techniques that focus on close-up shots of intricate elements, such as signatures, cracks, or surface textures. Take multiple photos from different angles to capture how light interacts with the artwork’s surface and to document any imperfections or unique characteristics. Clear, detailed images help verify the artwork’s condition and authenticity, making your insurance claim more robust. Precision in highlighting fine details ensures you have a comprehensive visual record that supports your coverage needs effectively.
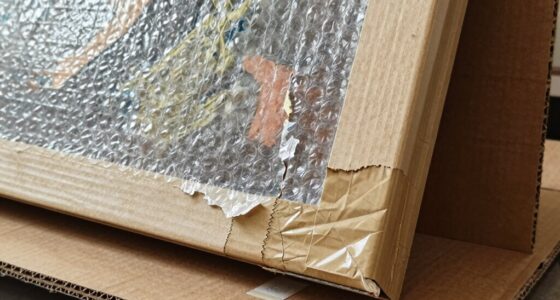
How to Capture Provenance Documents and Unique Features Clearly

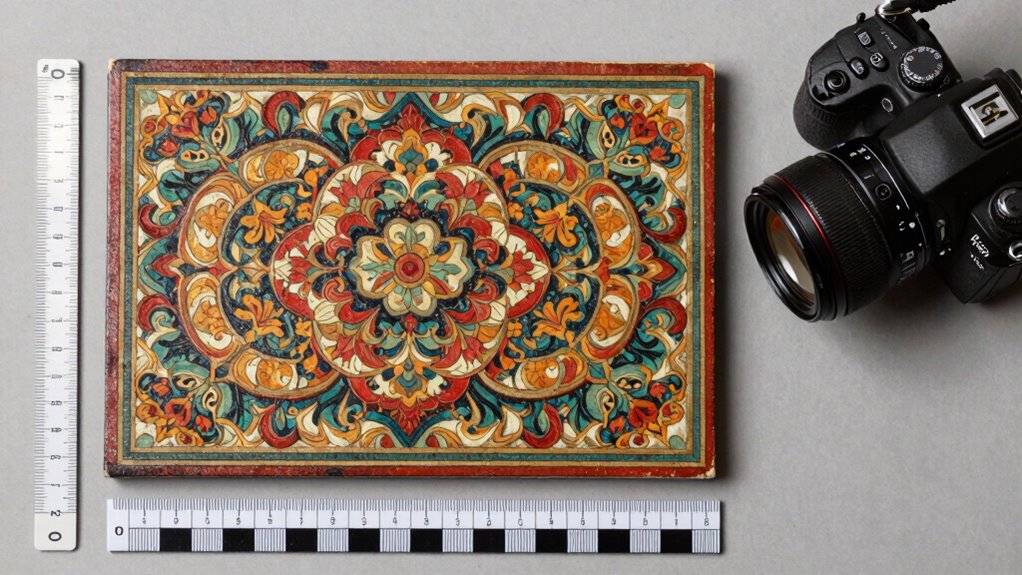
Ensuring that provenance documents and unique features are captured clearly is essential for accurate insurance documentation. To do this effectively, focus on three key steps:
- Use good lighting and a steady camera to photograph provenance documentation, making certain all details are legible and free of glare.
- Capture close-up images of unique features, such as signatures, markings, or textures, with high resolution for precise unique feature imaging.
- Keep background distractions minimal to highlight these details, and include reference objects for scale when necessary.
This approach guarantees your provenance documentation is clear and verifiable, while detailed images of unique features support your claim. Accurate documentation helps prevent disputes and ensures your art’s value is properly recognized.
Common Mistakes to Avoid When Photographing Your Art
When photographing your art for insurance, one common mistake is neglecting proper lighting, which can result in images that are too dark, washed out, or contain glare. Poor lighting can obscure details and distort colors, making it harder to accurately assess your artwork. Avoid relying solely on art framing or gallery lighting setups, which often create uneven illumination and reflections. Instead, use diffuse, natural light or softbox lighting to evenly illuminate the piece without glare. Position lights at appropriate angles to prevent reflections on glass or glossy surfaces. Proper lighting ensures your photos accurately represent your artwork’s true colors and details, reducing the risk of claim denial due to poor image quality. Good lighting is key to clear, professional-looking documentation.
Organize and Label Your Artwork Photos for Easy Insurance Use
Organizing and labeling your artwork photos is essential for quick and efficient insurance claims. Proper photo organization helps you find specific pieces fast, while clear art labeling ensures accurate identification. To do this effectively:
Organize and label your art photos for quick, hassle-free insurance claims.
- Create a consistent naming system that includes the artwork’s title, date, and location.
- Use folders or albums to separate different collections or periods.
- Attach detailed labels or tags to each photo, including art labeling info like dimensions, medium, and condition.
This approach keeps your digital files tidy and makes it easier for insurers to verify your collection. Well-organized photo files with clear labels streamline the claims process, saving you time and hassle when you need to provide proof of your art’s value or condition.
Create a Digital Archive to Support Your Insurance Documentation
Creating a digital archive of your artwork is an essential step in strengthening your insurance documentation. Digital storage allows you to preserve high-quality images and important details in one secure location, reducing the risk of loss or damage. As you build your archive, focus on effective metadata management—adding key information like titles, dimensions, dates, and provenance to each file. This organized system makes it easier to locate specific pieces quickly and provides exhaustive records for insurance claims. Use reliable cloud storage or external drives to ensure your digital archive remains accessible and protected. Regularly update and back up your files to maintain an accurate, current inventory of your artwork, giving you confidence that your documentation is thorough and ready if needed.
Review and Enhance Your Photos for Maximum Clarity
To accurately represent your artwork for insurance purposes, you need to review and enhance your photos to make certain of maximum clarity. Start by checking for sharpness and adjusting your images to highlight the artwork’s details. Use artistic techniques like contrast and brightness to bring out true colors. Consider these steps:
- Crop and straighten to improve framing compositions and eliminate distractions.
- Increase clarity and sharpness to emphasize fine details.
- Adjust lighting and color balance for true representation.
Frequently Asked Questions
How Often Should I Update My Artwork Photos for Insurance?
You should update your artwork photos annually to keep your art inventory management current. Regular updates help verify your insurance policy reflects any new acquisitions or changes, reducing the risk of claim denial. Whenever you add or sell pieces, or if your artwork sustains damage, update the photos promptly. Staying proactive with insurance policy updates and consistent photography protects your valuable collection and simplifies the claims process if needed.
What File Formats Are Best for Digital Art Documentation?
For digital art documentation, you should save your files in high-quality formats like TIFF or PNG. These file formats guarantee excellent digital preservation by maintaining image fidelity and metadata. Avoid compressed formats like JPEG for archival purposes, as they can degrade quality over time. Using these formats guarantees your digital records stay intact, making them reliable for insurance claims and long-term preservation.
Can I Use Smartphone Photos for Insurance Claims?
Imagine you’re documenting your artwork after a minor damage; yes, you can use smartphone photos for insurance claims. Just make sure your smartphone resolution is high enough to capture detail clearly. Use photo editing apps to enhance lighting and clarity, but avoid over-editing. Clear, sharp images help insurers verify your claim, making it easier for them to assess the damage accurately and process your claim smoothly.
How Do I Handle Damaged or Faded Artwork Photos?
To handle damaged or faded artwork photos, focus on art preservation by capturing clear, detailed images. Use proper photo lighting techniques, like natural light or diffused artificial light, to reduce glare and enhance colors. Take multiple shots from different angles, ensuring the artwork’s condition is accurately documented. Avoid editing or enhancing the photos, as insurers need authentic representations. This approach helps preserve the artwork’s true state for insurance claims.
What Security Measures Should I Take When Storing Digital Art Images?
You might think your digital art images are safe, but don’t forget security measures. Use digital encryption to protect sensitive files, making unauthorized access nearly impossible. Store images in secure cloud storage that offers strong encryption and regular backups. Avoid local storage vulnerabilities, and always update passwords. Remember, in the digital world, the best defense is a good offense—so encrypt and encrypt again to keep your art truly safe.
Conclusion
By paying close attention to detail and taking your time, you’ll create a visual record that speaks volumes when it matters most. Clear, well-organized photos can help your insurance process go smoothly, even when unexpected moments arise. Think of your images as a silent but powerful storyteller, gently guiding the way through any claims. With a little effort, your artwork’s story will shine through clearly—making sure your coverage is as solid as your collection.