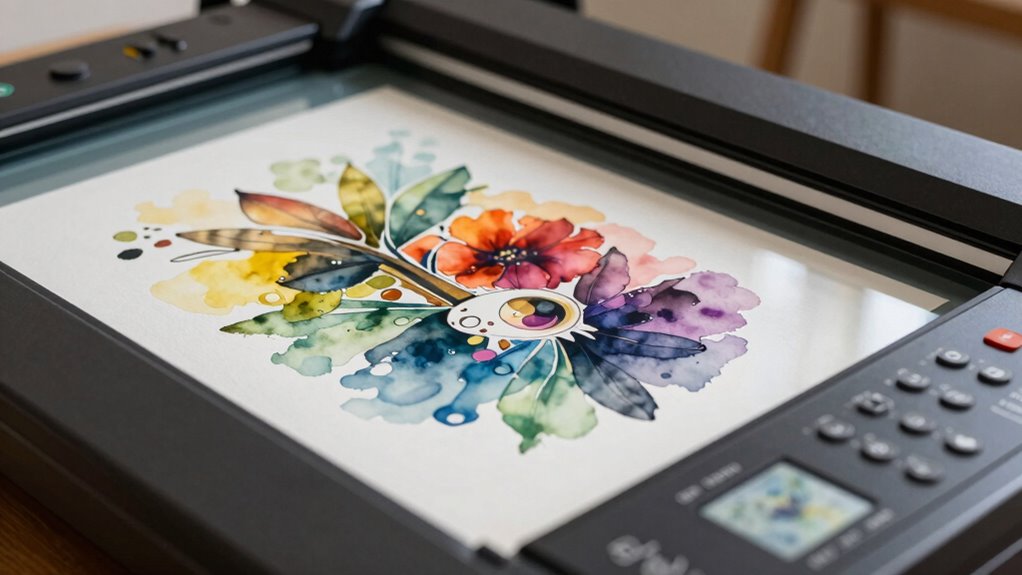
When scanning artwork, set your DPI between 300 and 600 for sharp detail and quality—higher for larger or intricate pieces. Use a color mode like RGB for digital display or CMYK for printing. Choose a high bit depth, such as 24 or 48 bits, to capture subtle color nuances. Save in lossless formats like TIFF for archiving, and choose your settings carefully to balance quality with file size. Keep these tips in mind to get the best digital version, and discover more tips below.
Key Takeaways
- Use 300-600 DPI for detailed, sharp scans, balancing image quality and file size based on artwork size and purpose.
- Choose a high color depth (24-bit or higher) to preserve color nuances and detail in the digital image.
- Select appropriate color modes (RGB for digital, CMYK for printing) and ensure proper calibration for accurate colors.
- Save scans in lossless formats like TIFF for archival quality and future editing needs.
- Pre-scan calibration, clean equipment, and proper alignment are essential for optimal image fidelity.

Epson Perfection V19 II Color Photo and Document Flatbed Scanner with 4800 dpi Optical Resolution USB Power, High-Rise, Removable Lid
Amazing image clarity and detail — 4800 dpi optical resolution (1), ideal for photo enlargements
As an affiliate, we earn on qualifying purchases.
As an affiliate, we earn on qualifying purchases.
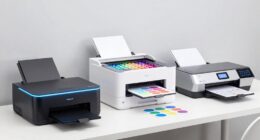
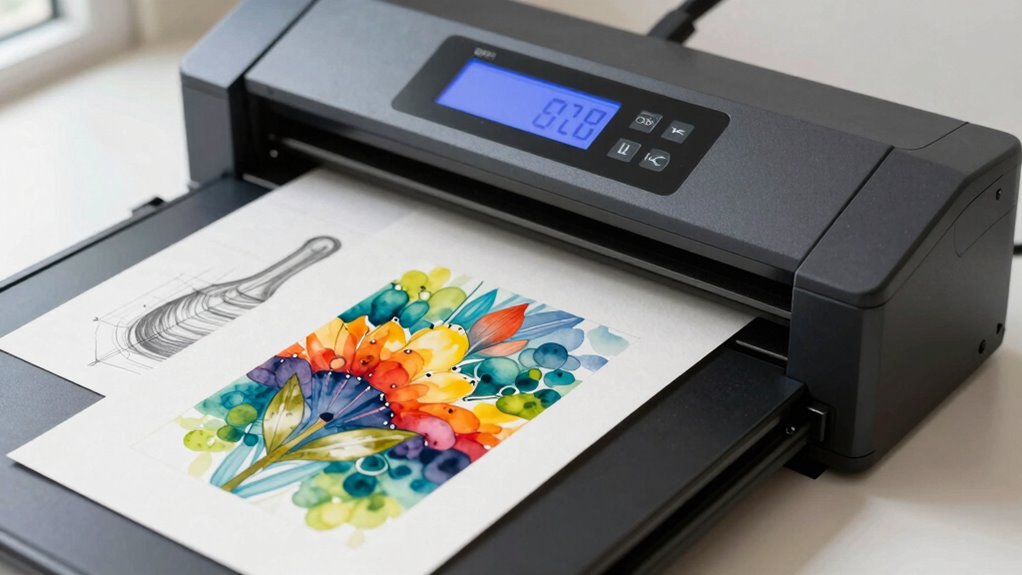
How to Scan Artwork for Stunning Digital Results

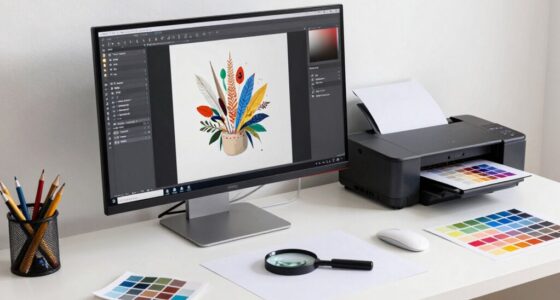
To achieve stunning digital results when scanning artwork, you need to start with the right equipment and settings. High-quality scanners with accurate color reproduction are essential for digital restoration and art preservation. Use a flatbed scanner with a high resolution to capture every detail without distortion. Before scanning, clean your artwork gently to remove dust and fingerprints, ensuring clarity and accuracy. Adjust the scanner’s settings to optimize color accuracy and avoid unnecessary compression. Save your files in a lossless format like TIFF to maintain quality for future editing or printing. Properly scanning artwork not only enhances visual appeal but also protects your originals by reducing handling. Additionally, understanding resolution and bit depth is crucial for capturing fine details and color fidelity. Considering air quality can also influence the longevity of your digital files by preventing damage from environmental factors. Ensuring proper monitor calibration helps you accurately assess colors during post-processing. Using color profiles can further improve consistency across different devices. Paying attention to ambient lighting during scanning can also help achieve more accurate color reproduction. With the right approach, you’ll produce digital copies that honor the integrity of your art while enabling effective preservation.
Epson Perfection V19 II Color Photo and Document Flatbed Scanner with 4800 dpi Optical Resolution USB Power, High-Rise, Removable Lid
Amazing image clarity and detail — 4800 dpi optical resolution (1), ideal for photo enlargements
As an affiliate, we earn on qualifying purchases.
As an affiliate, we earn on qualifying purchases.
What DPI Should You Use for Artwork Scanning?
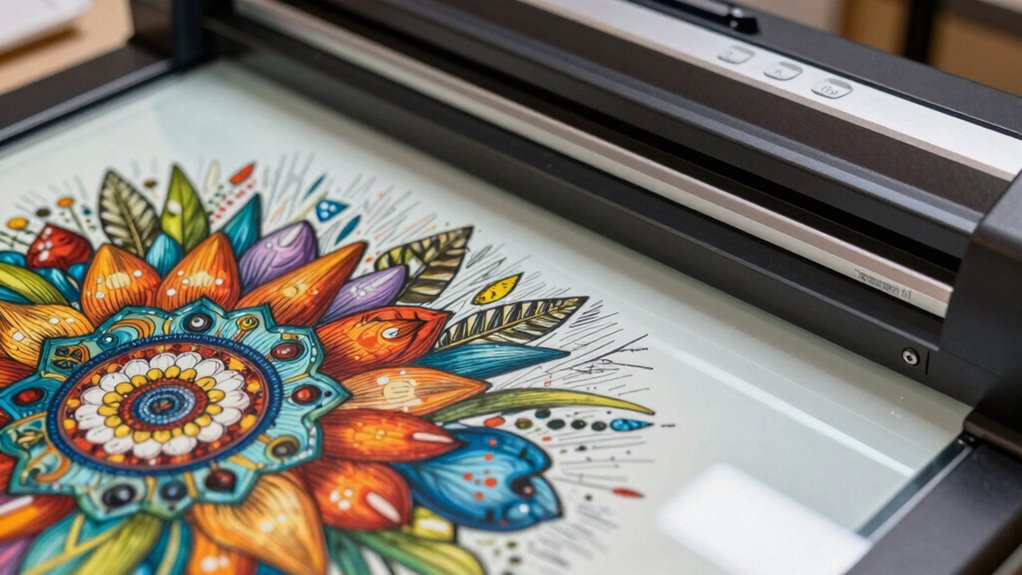
Choosing the right DPI when scanning artwork is essential for capturing all the details and ensuring the digital image meets your needs. For most artwork, a resolution of 300 DPI offers a good balance between detail and file size, suitable for printing or archiving. If you need high-quality reproductions or detailed enlargements, consider scanning at 600 DPI or higher. Proper color calibration during setup guarantees accurate color reproduction, reducing the need for extensive adjustments later. Regular scanner maintenance, like cleaning the glass and calibration of the device, helps maintain consistent results and prevents issues that could compromise image quality. Ultimately, selecting the appropriate DPI depends on your intended use, but maintaining your scanner and calibrating it correctly guarantees optimal results every time. Additionally, understanding resolution standards can help you choose the best settings tailored to your specific project requirements, and being aware of digital image quality factors can further enhance your scanning outcomes.
TIFF scanner for artwork
As an affiliate, we earn on qualifying purchases.
As an affiliate, we earn on qualifying purchases.
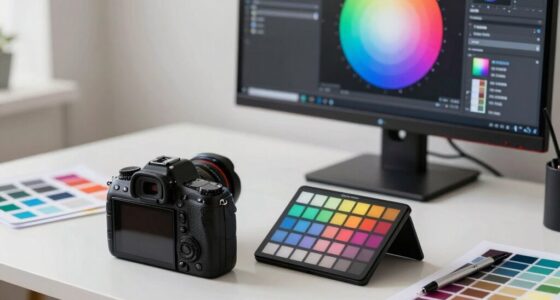
Choosing Color Mode and Color Depth for Accurate Reproduction
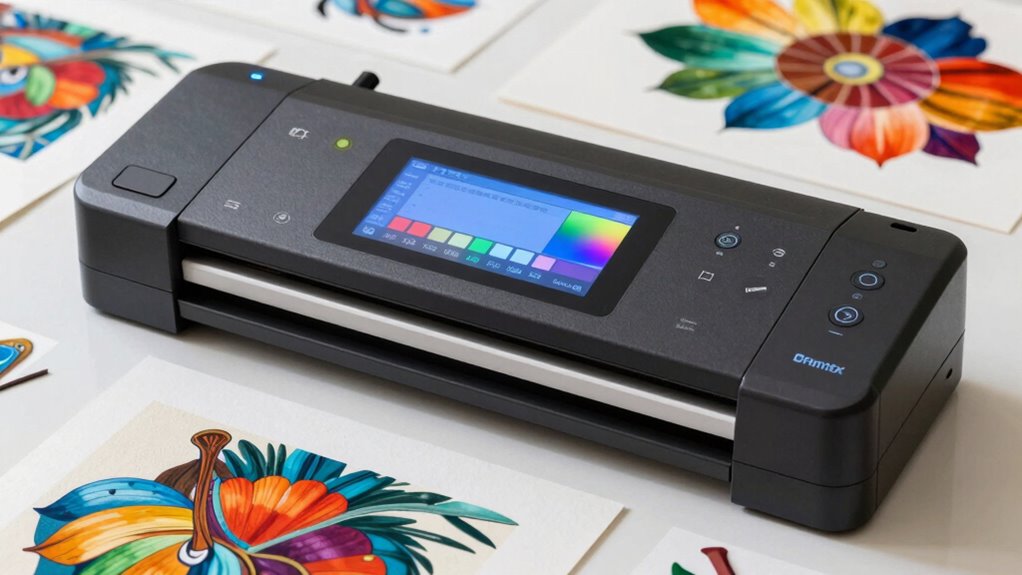
Selecting the right color mode and color depth is crucial for ensuring your scanned artwork reproduces colors accurately and maintains detail. You should start with proper color calibration to match your scanner’s output with your monitor and printing devices. For most artwork, using RGB mode is ideal since it captures a wide color range, especially when preparing for digital displays or inkjet printers. If you’re printing physically, consider switching to CMYK mode for more precise color representation. Regarding color depth, opt for 24-bit or higher to preserve subtle color nuances and details. Higher color depth ensures your scans retain vibrancy and accuracy, especially when working with complex artwork. Proper selection of color mode and depth ultimately guarantees faithful reproductions across digital and print mediums. Additionally, understanding the color gamuts of different modes helps in choosing the most suitable settings for your project.

DSLRKIT Lens Focus Calibration Tool Alignment Ruler Folding Card(Pack of 2)
This compact ruler allows you to determine if your lens is auto-focusing accurately as it should. It is…
As an affiliate, we earn on qualifying purchases.
As an affiliate, we earn on qualifying purchases.
How to Select the Right Resolution for Different Artwork Types
When digitizing artwork, setting the correct resolution is essential to capturing detail without creating unnecessarily large files. For detailed paintings or illustrations, opt for a higher print resolution—usually 300 DPI—to ensure fine details are preserved. For simpler sketches or line art, 200 DPI may suffice. Keep in mind that your monitor calibration affects how you perceive the image on-screen; a well-calibrated monitor helps you judge whether the resolution accurately reflects the artwork’s detail. If you plan to print the digital version, choose a resolution that matches the intended output size. Avoid overshooting, as higher resolutions leads to bigger files without significant gains in quality for certain artwork types. Tailoring your resolution to each artwork ensures the best quality and efficient file sizes. Understanding DPI and bit depth can further optimize your digitization process by balancing detail and file size. Additionally, being aware of image resolution standards helps you select the most appropriate settings for your specific project. Considering how file formats impact quality and compatibility can also enhance your final output. Properly managing scan settings is crucial to achieving optimal image quality and avoiding unnecessary data, especially when working with sustainable printing options that prioritize eco-friendly practices.
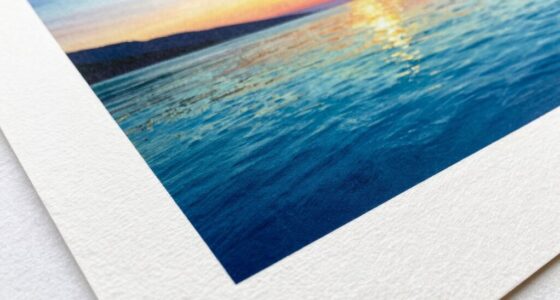
File Formats and Compression: Saving Your Art Files Wisely

Once you’ve set the right resolution for your artwork, saving your files in the proper format is key to preserving quality and ensuring easy access later. Choosing the right format depends on your artwork type and intended use. For example, vector graphics like SVG or AI preserve scalability without loss of quality, ideal for logos and illustrations. Raster formats like JPEG, PNG, or TIFF are better suited for detailed images, but can involve compression that reduces quality. Consider these points:
- Use lossless formats like PNG or TIFF for archival or high-quality prints.
- Save web images as JPEG or PNG, balancing quality and file size.
- Avoid compressing files excessively to prevent detail loss, especially in raster formats.
- Remember that file formats and compression directly impact your artwork’s fidelity and usability over time.
- Additionally, understanding resolution and DPI helps ensure your artwork remains sharp across various display and print sizes.
Selecting the correct format and compression method helps maintain your artwork’s integrity over time.
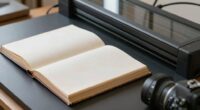
Setting Up Your Scanner for Optimal Artwork Scans

To achieve the best possible scans of your artwork, you’ll need to carefully set up your scanner before starting. First, verify your scanner is properly calibrated to maintain consistent color and detail. Calibration process is essential for ensuring accurate color reproduction and image clarity. Next, consider the paper texture; a smooth, clean surface reduces shadows and enhances image clarity. Before scanning, select the appropriate resolution—usually 300-600 DPI for artwork—to capture fine details. Use the preview feature to adjust cropping and alignment. Keep the artwork flat against the scanner bed to avoid distortion. Ensuring proper scanner calibration is essential for consistent and high-quality results. Here’s a quick setup checklist:
| Step | Action |
|---|---|
| 1 | Calibrate your scanner |
| 2 | Clean the scanner glass |
| 3 | Choose the right resolution |
| 4 | Adjust paper texture settings |
| 5 | Ensure artwork is flat |
Common Mistakes to Avoid When Scanning Artwork Files
One common mistake is neglecting resolution requirements, which can result in blurry or pixelated images. You also need to pay attention to color mode settings, as choosing the wrong one can distort your artwork’s appearance. Avoid these errors to guarantee your scanned files maintain quality and accuracy. Additionally, understanding floating on water can help ensure your equipment is properly maintained and safe to use during the scanning process. Proper resolution settings are essential to achieving sharp, detailed scans, especially when working with high-resolution artwork. Being aware of digital image quality principles can further enhance your scanning outcomes and prevent common pitfalls. Moreover, selecting the appropriate color accuracy settings is vital to preserve the true hues and tones of your artwork during the scan.
Ignoring Resolution Requirements
Ignoring resolution requirements is a common mistake that can seriously compromise the quality of your scanned artwork. When you overlook resolution concerns, you risk producing images that are either pixelated or lack detail, especially if your artwork dimensions demand higher DPI settings. To avoid this, consider these key points:
- Match the target output: Determine whether your project needs a print or digital format and adjust resolution accordingly.
- Maintain artwork integrity: Use sufficient DPI to preserve details, especially for large or intricate artwork.
- Check physical dimensions: Ensure your scanner settings align with the artwork’s dimensions to prevent unnecessary resizing or quality loss.
Overlooking Color Mode Settings
When scanning artwork, paying attention to color mode settings is just as important as choosing the right resolution. Selecting the correct mode impacts color accuracy and file size. If you overlook this, your digital file may not match the original’s vibrancy or could become unnecessarily large. Common options include RGB for digital use and CMYK for printing. Also, consider your color depth choices—higher bits provide more color detail but increase file size. To avoid mistakes, choose the appropriate color mode based on your project’s purpose.
| Color Mode Options | Best Use Cases |
|---|---|
| RGB | Digital displays, web |
| CMYK | Printing, professional output |
| Grayscale | Black and white artwork |
Balancing Image Quality and File Size for Archiving
Achieving the right balance between image quality and file size is essential when archiving artwork, as high-quality images ensure details are preserved while smaller files save storage space and facilitate easier sharing. To optimize this balance, consider:
- Using effective file compression to reduce size without sacrificing visual fidelity
- Ensuring proper color calibration so colors remain accurate across different devices
- Selecting an appropriate resolution and bit depth tailored to your archiving needs
- Incorporating vehicle protection and accessories to safeguard your digital assets just as you would your physical artwork
Tips for Editing and Saving Your Digitized Artwork
When editing and saving your digital artwork, choosing the right file format is vital for quality and compatibility. You should also adjust color settings to guarantee your artwork looks its best across devices. Finally, organizing and archiving your files properly will make future access and edits much easier.
Choosing Optimal File Formats
Have you ever wondered which file format best preserves the quality of your digital artwork? Choosing the right format guarantees your work maintains its print resolution and color accuracy. Consider these options:
- TIFF: Ideal for high-quality prints, lossless, preserves details and color.
- PNG: Great for web use, supports transparency, maintains color fidelity.
- JPEG: Suitable for sharing, but lossy; can reduce quality if not saved carefully.
Your choice impacts how well your artwork reproduces in print and on screens. For editing and archiving, TIFF is often best due to its lossless nature. For sharing online, PNG provides a good balance of quality and file size. Always save your original in a high-quality format before converting to others.
Adjusting Color Settings
Adjusting color settings is a crucial step to guarantee your digital artwork looks its best across different devices and print formats. Start by performing color calibration to ensure your monitor displays accurate colors. Use monitor profiling tools to create a color profile tailored to your display, which helps maintain consistency. When editing, adjust brightness, contrast, and saturation carefully, avoiding overcorrection. Be mindful of color spaces; sRGB is suitable for web, while Adobe RGB offers a wider gamut for printing. Save your files with embedded profiles to preserve color accuracy. Regularly calibrate your monitor, especially if you notice color shifts. Proper color management ensures your artwork maintains its intended hues, making it easier to print or share digitally with confidence.
Organizing and Archiving Files
To keep your digital artwork organized and easily accessible, establishing a consistent file naming and folder structure is essential. This helps streamline your workflow and simplifies retrieval. Use clear, descriptive names that include details like project, date, and version. Incorporate metadata management to embed relevant information directly into your files, enhancing digital cataloging. Consider creating folders based on categories such as year, medium, or theme for quick navigation. To optimize your archiving process, you should:
- Use standardized naming conventions for all files
- Regularly update metadata with additional details
- Back up files in multiple locations to prevent loss
These practices guarantee your digital collection remains organized, searchable, and protected, making future editing or sharing more efficient.
Final Checklist: Optimizing Your Scan Settings for Best Results

Before you start scanning your artwork, it’s vital to review your settings to guarantee the best possible results. Begin by making sure your scanner is well-maintained—clean the glass and perform regular calibration to achieve accurate color reproduction. Check that your color calibration is up-to-date, which helps your scans match the original artwork’s tones precisely. Set your DPI high enough for detail but not so high that file sizes become unmanageable; 300-600 DPI is usually ideal for most artwork. Adjust the bit depth to capture the necessary color information without overloading your file. Finally, preview your scan to fine-tune settings and avoid unnecessary rescans. Taking these steps ensures your digital copies are vibrant, accurate, and ready for archiving or printing.
Frequently Asked Questions
How Does Bit Depth Affect the Quality of Digital Artwork Scans?
Bit depth directly impacts the quality of your digital artwork scans by determining the color depth and tonal range. Higher bit depth means more shades and smoother color *gradations*, capturing subtle details and gradients accurately. This results in a richer, more precise image that closely resembles the original artwork. If you want high-quality scans with vibrant colors and fine tonal differences, choose a higher bit depth setting to preserve the artwork’s integrity.
Can Scanning at Higher DPI Improve Print Quality for All Artwork Types?
Scanning at higher DPI can significantly improve print quality for most artwork, with 300 DPI often enough for detailed prints. Notably, doubling DPI from 300 to 600 can quadruple resolution, enabling better resolution enhancement. However, higher DPI may slow down scanning speed and increase file size. For intricate artwork, higher DPI makes a noticeable difference, but for simpler pieces, standard resolution often suffices without sacrificing quality.
What Are the Trade-Offs Between File Size and Image Detail in Scanning?
You’ll find that higher image detail from scanning results in larger file sizes, which can strain your storage solutions. To balance quality and file size, use file compression wisely to reduce storage needs without losing essential details. Keep in mind, excessive compression can degrade image quality, so choose settings carefully. It’s all about optimizing your scan settings to match your storage capacity and desired image clarity.
How Do Different Scanner Settings Impact Color Accuracy in Digitized Artwork?
Oh, the grand adventure of digital color perfection! When you tweak scanner settings, you control color accuracy through precise calibration and selecting the right color profiles. For true-to-life hues, don’t skimp on calibration; it guarantees your artwork’s colors stay faithful. Using accurate color profiles, like Adobe RGB or sRGB, helps your scanned images match original shades. So, experiment wisely—your artwork deserves nothing less than pixel-perfect, gallery-quality color fidelity.
Is It Necessary to Calibrate My Scanner Regularly for Consistent Results?
Yes, you should calibrate your scanner regularly for consistent results. Proper scanner maintenance and calibration frequency guarantee accurate color reproduction and sharp details. Over time, dust, wear, and environmental factors can affect performance, so set a routine, such as monthly or quarterly calibration, depending on usage. This keeps your scanner in prime condition, helping you achieve reliable, high-quality digitizations every time you scan your artwork.
Conclusion
Remember, choosing the right scan settings can make a huge difference—up to 600% better image quality, according to recent studies. By paying attention to DPI, color depth, and file formats, you guarantee your artwork looks stunning both digitally and in print. Don’t rush the process; a well-scanned piece preserves your creativity for years to come. With these tips, you’ll confidently bring your artwork to life in the digital world.